Global Bilgi RPA (EN)

Robot

Robot

Aktiviteler

Communicate With Robot

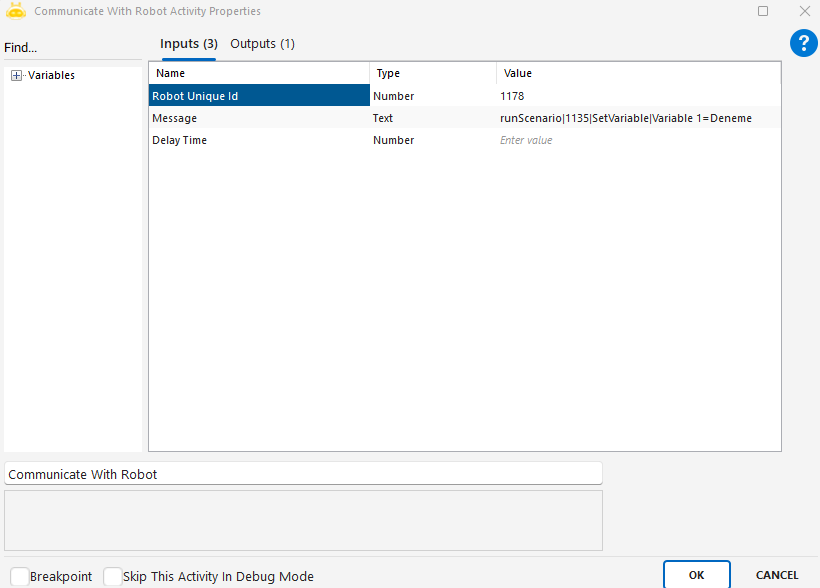
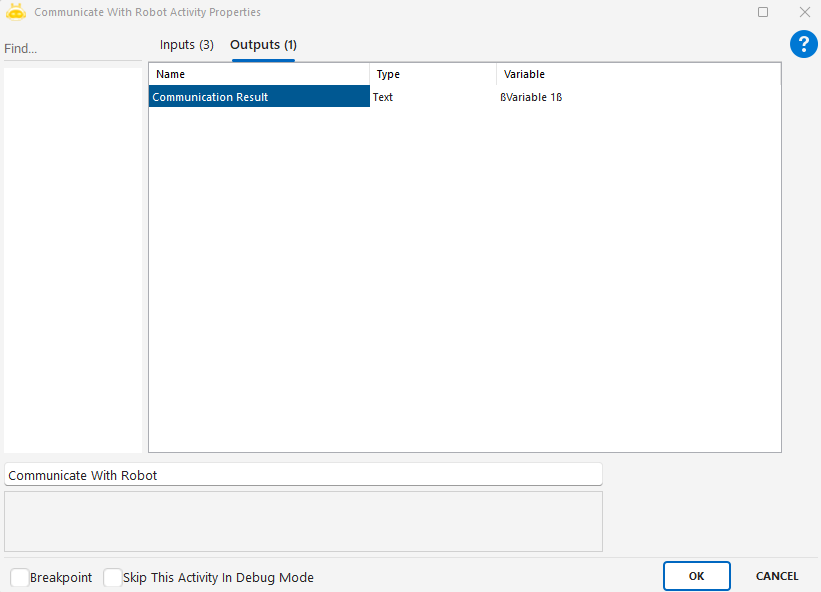
Using the Communicate With Robot activity, you can communicate between authorized robots and the scenarios they are connected to.

You can send a “Stop/Run” command to a different robot authorized in a certain step of the scenario, and assign a desired variable of the scenario connected to the robot.

In the Robot Unique ID line, the ID of the robot to which the message will be sent should be written. You can find this information on the orchestrator > robots page.

In the Message line, the message information to be sent should be entered in the format below:

  • For Run operation: runScenario|robotIdInfo
  • For stop: stopScenario|robotIdInfo
  • For assigning variable: runScenario|robotIdBilgisi|SetVariable|variableName=Message to Assign

Get Robot Informations

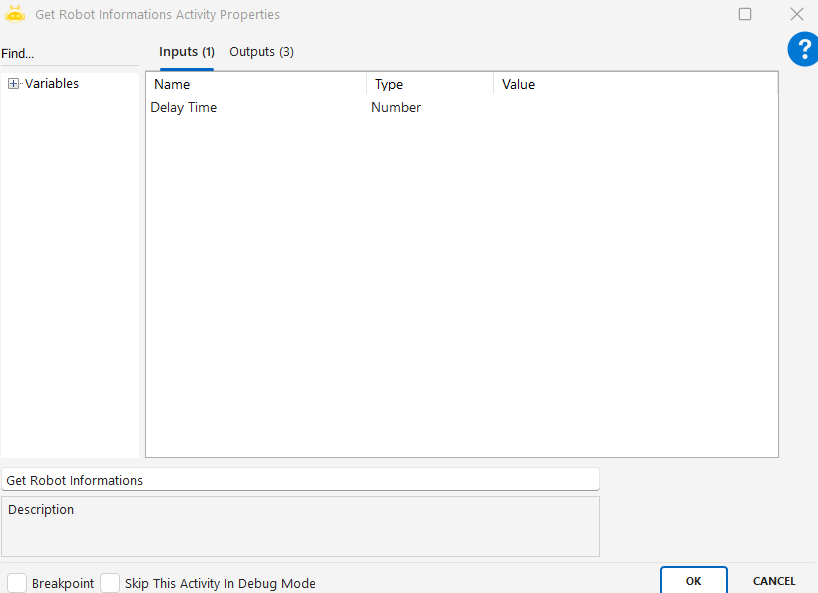
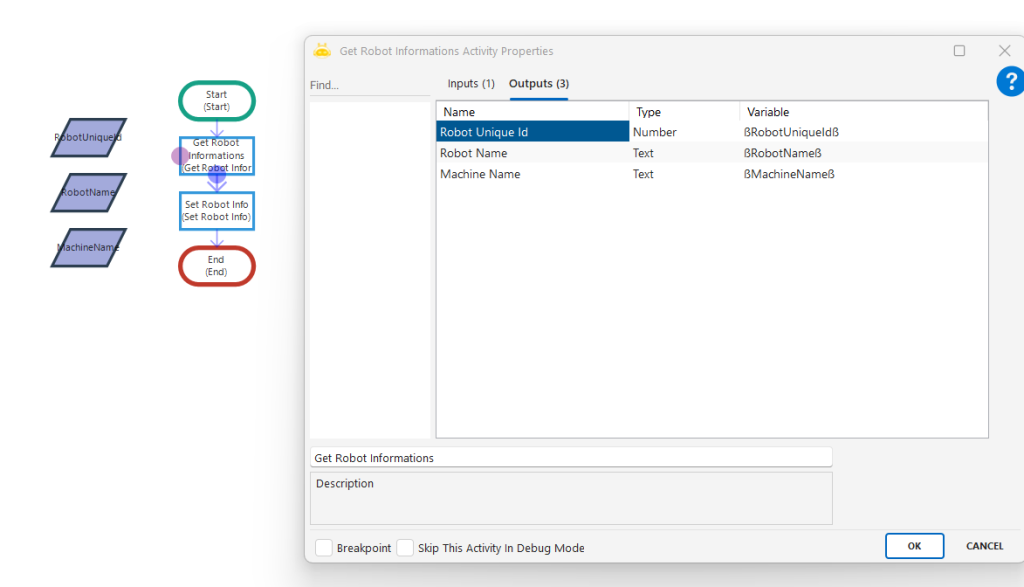
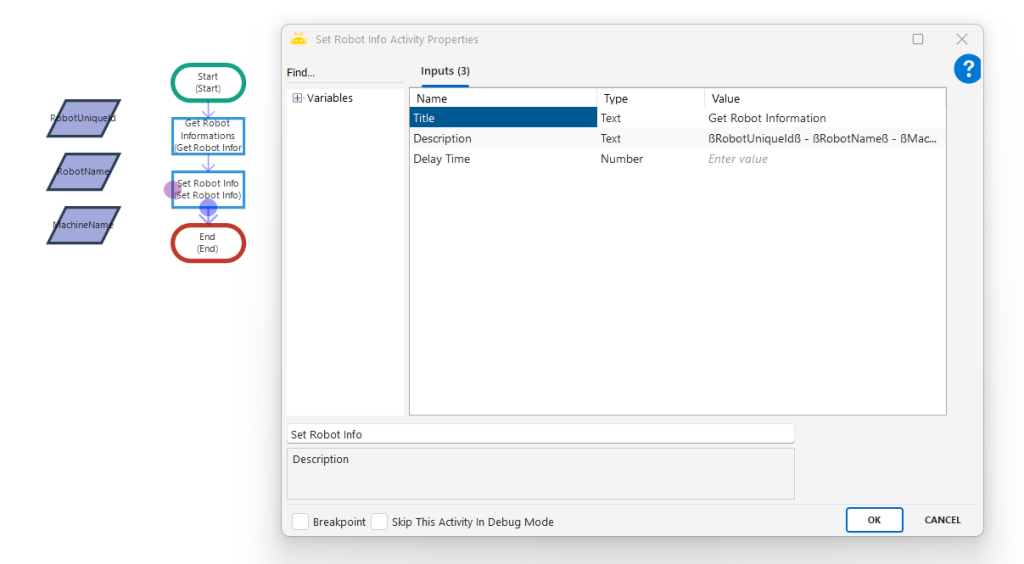
Using the Get Robot Information activity, you can get the Robot Unique ID, Robot Name and Machine Name information of the robot you matched through the scenario you designed, on the output and use them in the scenario.

In order to be able to use this activity, the designed scenario must be published and paired with the robot. If there is no matching robot, the values will be displayed as “Not Active Robot”. After you add the activity to your scenario, you can only run it on the robot. Otherwise it will not run on studio.

Set Robot Info

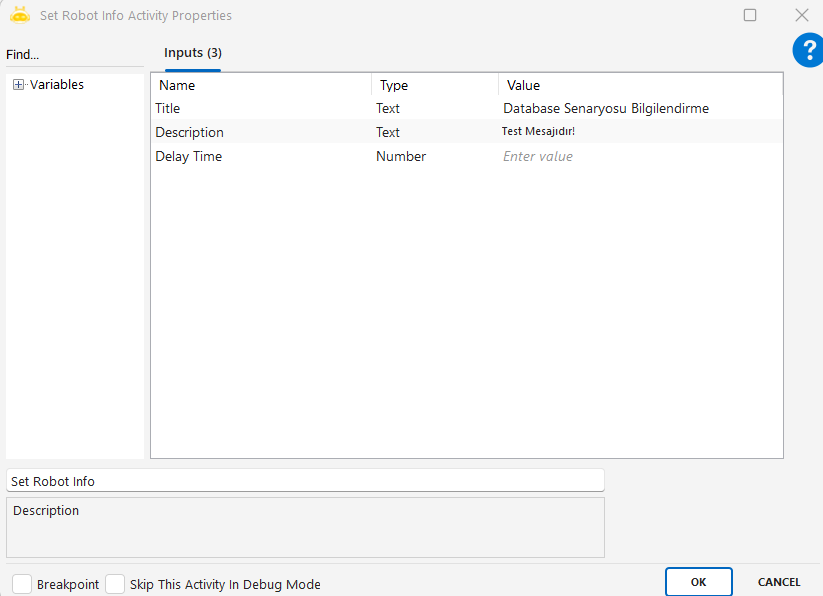
The Set Robot Info activity allows printing the desired message in the History field on your robot’s profile page after logging into the orchestrator environment. The title of the message should be written on the Title line, and the message information you want to forward should be written on the Description line.

Note: You can use the activity in scenarios run over the robot application.

Update Robot Transaction Message

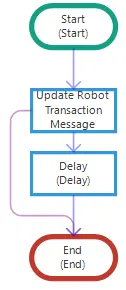
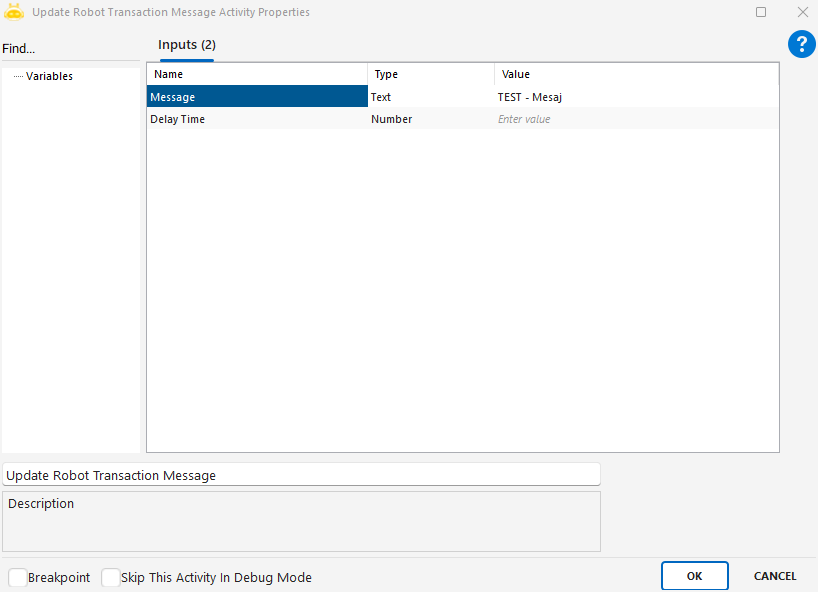
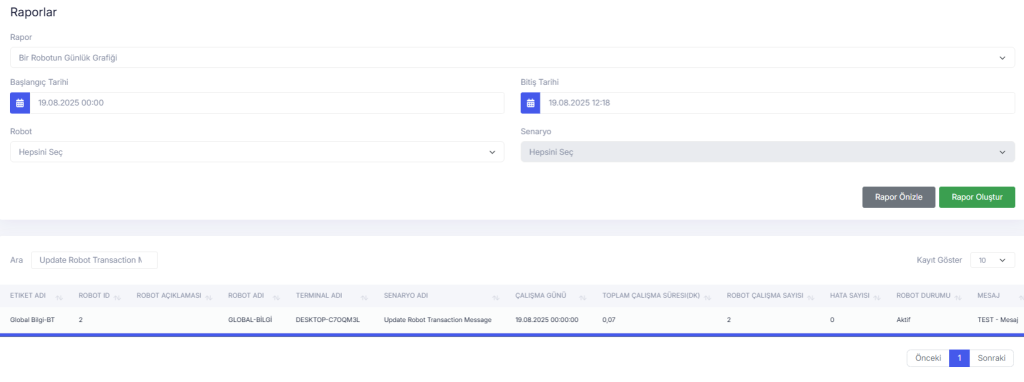
You can add a transaction-based message with the Update Robot Transaction Message activity. You can report this data from the message column in the report named Robot’s Log Graph in Orchestrator.

When this activity is run on Studio, it gives an error message as “Active transaction not found!” because there is no active transaction. For this reason, when using it in the scenario, you should definitely connect the purple arrow (Catch leg) to an activity to skip this message.

Do you want to have Digital Employees?