Orchestrator
Orchestrator
Beginning
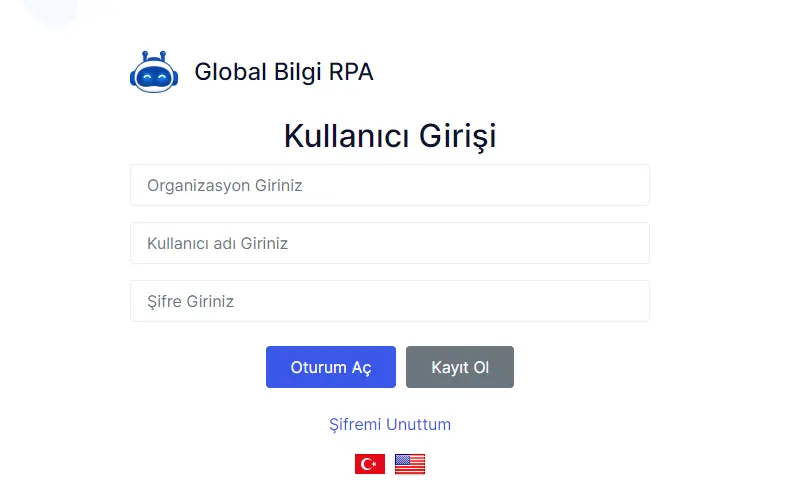
Turkcell Global Bilgi RPA Orchestrator is a management module where robots are managed, monitored, and defined and authorized. You can access Turkcell Global Bilgi RPA Orchestrator from the link https://cloud.globalbilgirpa.com.tr/.
When you log in to the page, you can log in with your Organization Name, Username and Password, or if you do not have this information, you can register by clicking the “Register” button.

Dashboard
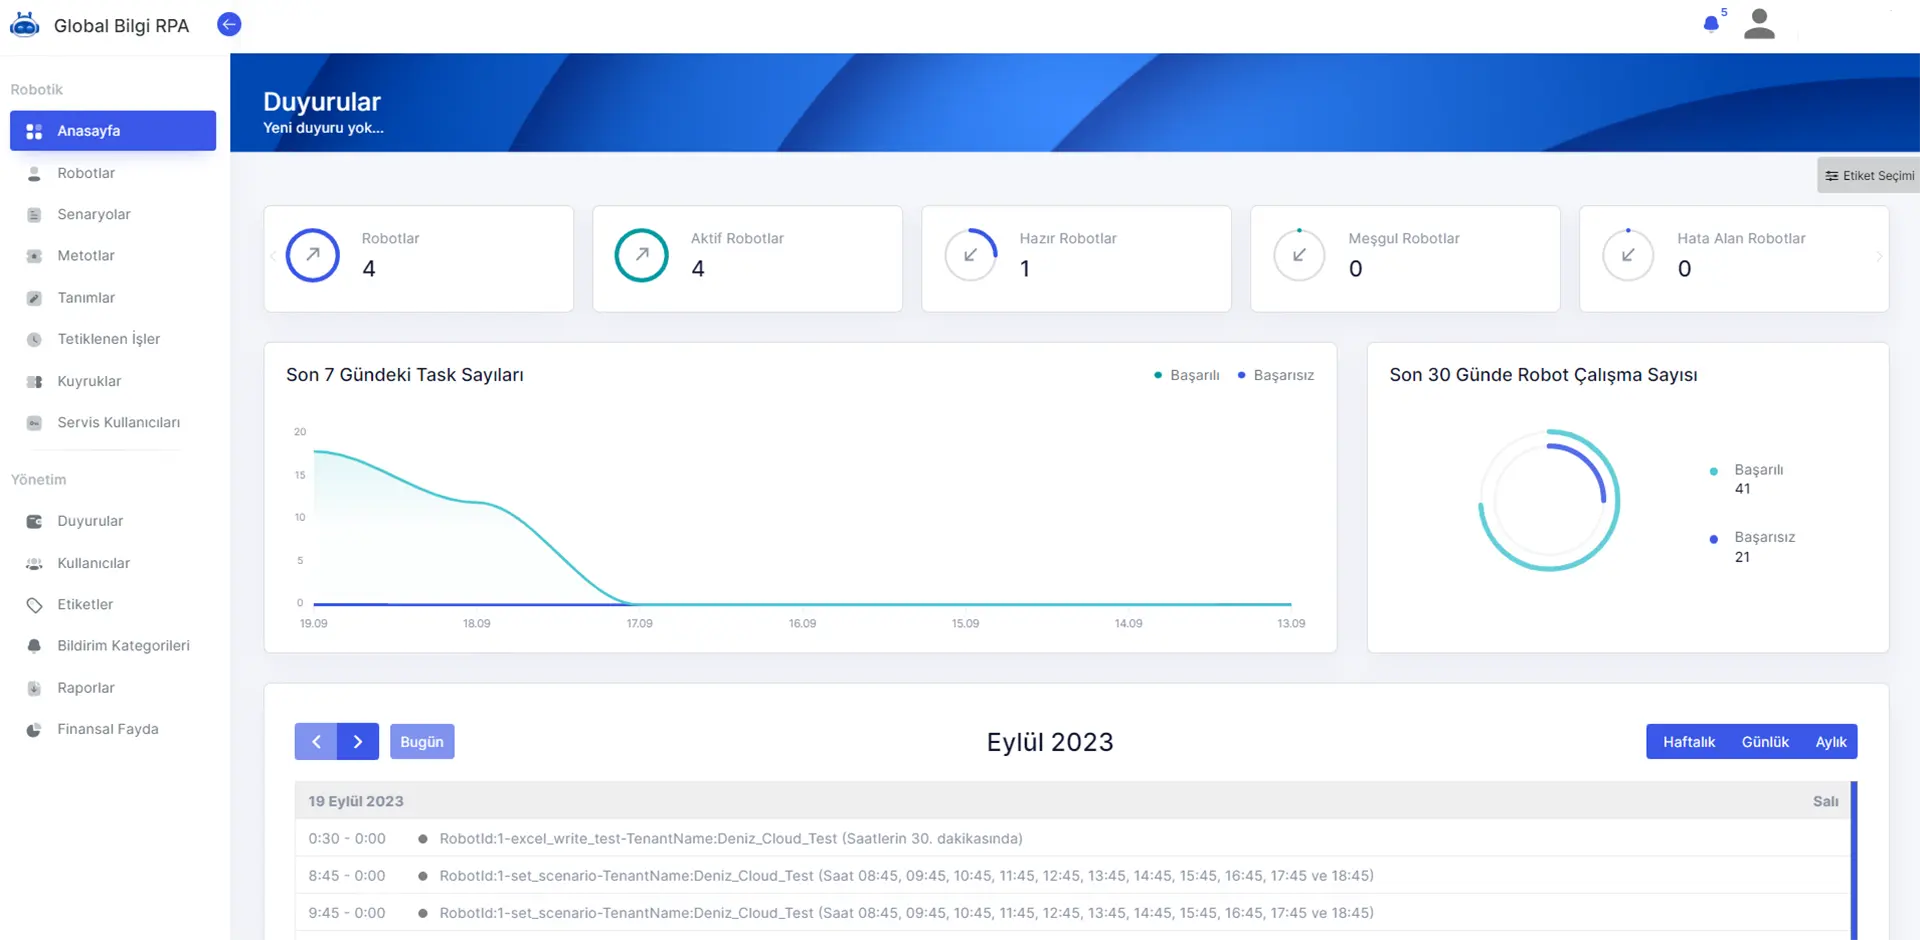
Dashboard is a dashboard where you can monitor your robots and scenarios.
When you log in to the page,
Your active, ready, busy and error-prone robots,
Number of successful tasks in the last 7 days,
Number of robot works in the last 30 days,
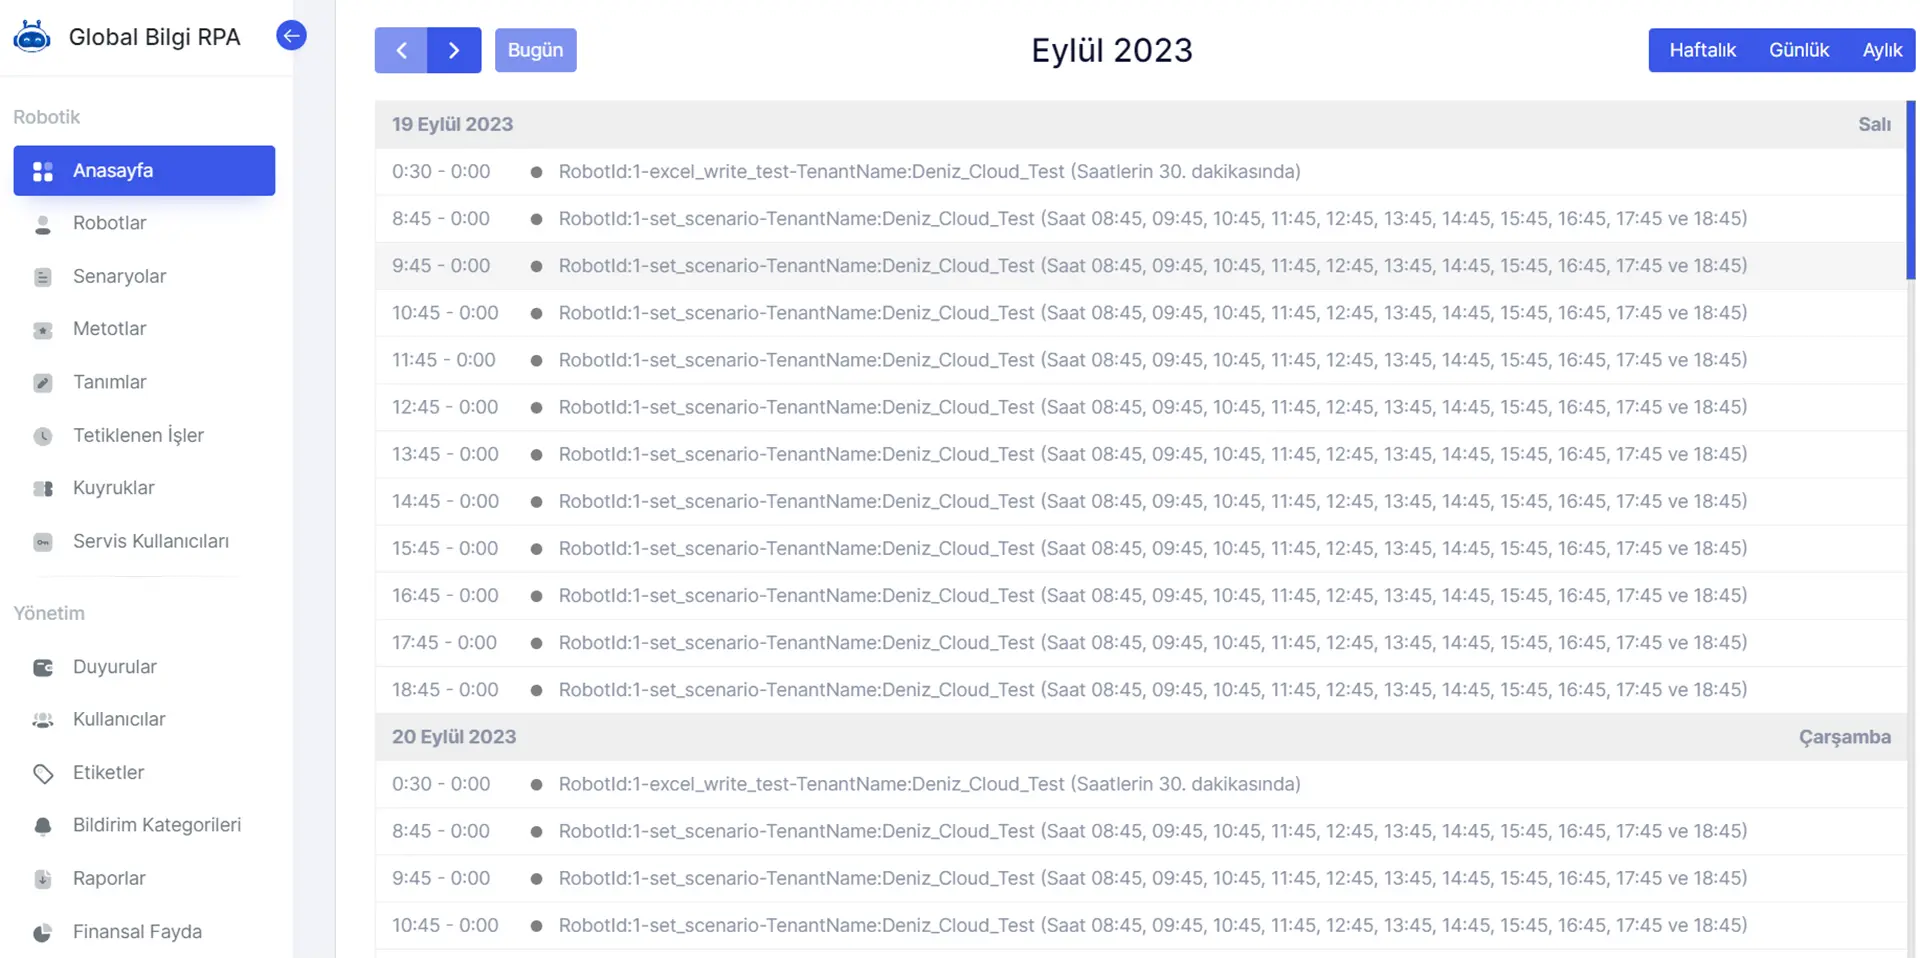
You can see your robot’s trigger schedule on a monthly basis.
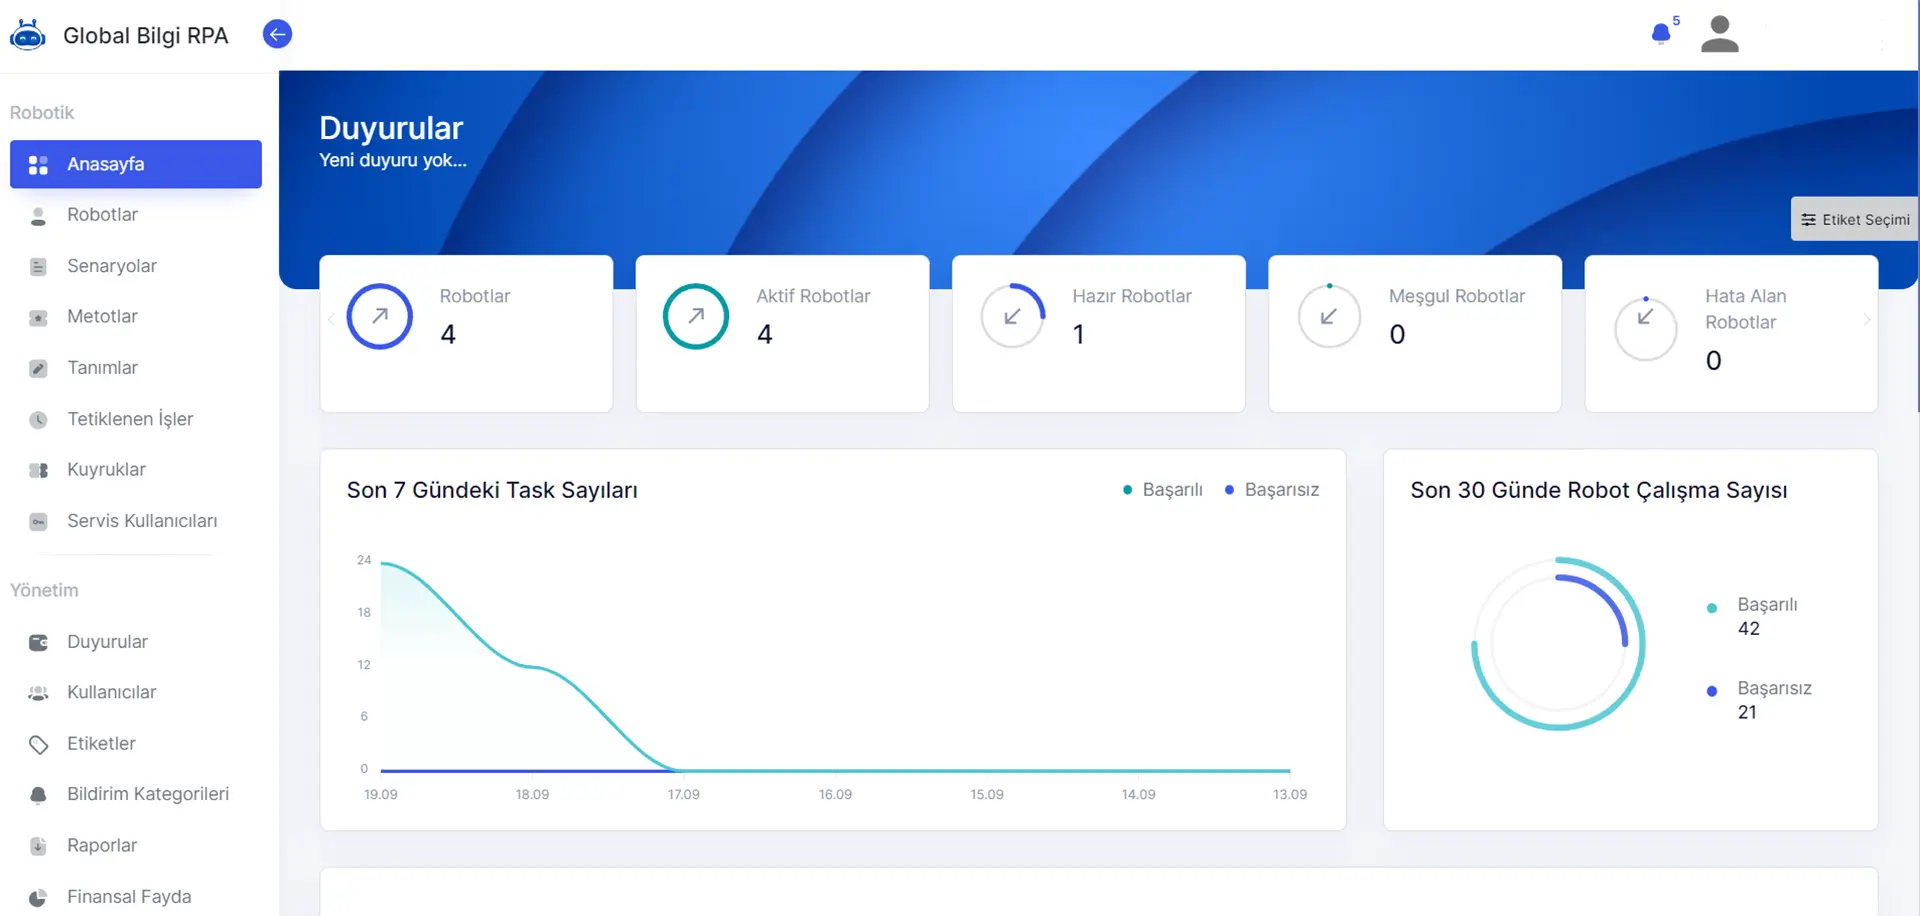
Dashboard Scenario Metrics Tracking
It can be followed under 3 headings focusing on success, mistakes and profit.
Number of Successful Tasks in the Last 7 Days: You can see the summary of the number of successful tasks in the last 7 days.
Number of Robot Works in the Last 30 Days: You can see the successful/unsuccessful work rate of the robots working in the last 30 days and their numbers when you hover over it.
You can see the robots’ work schedule on a daily, monthly and weekly basis.
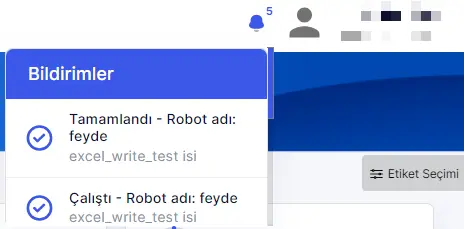
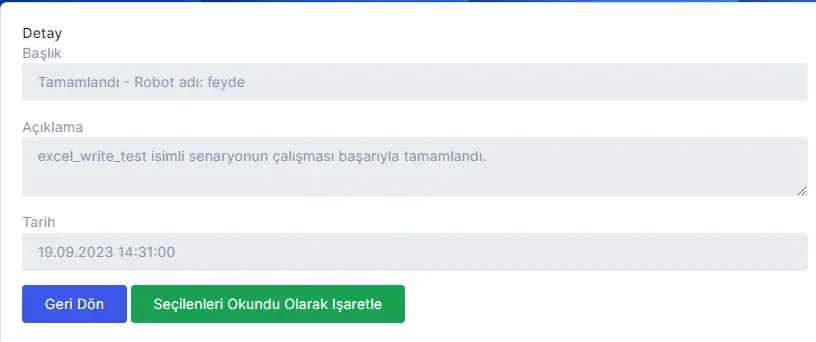
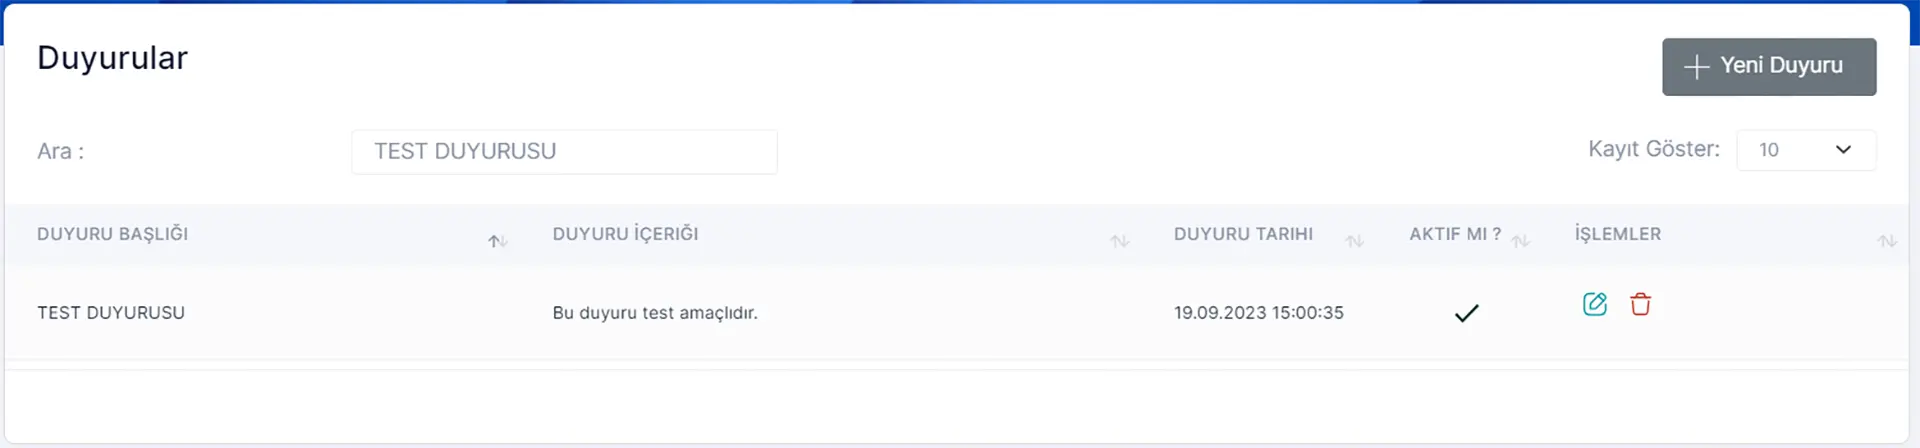
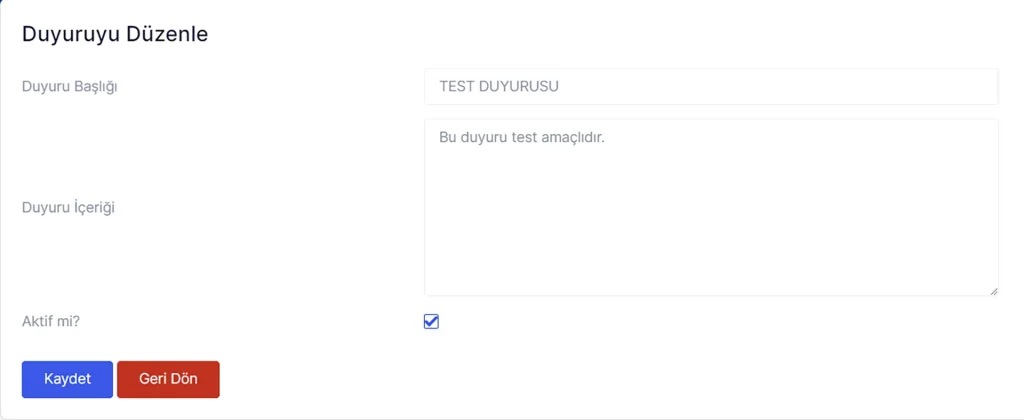
Announcements
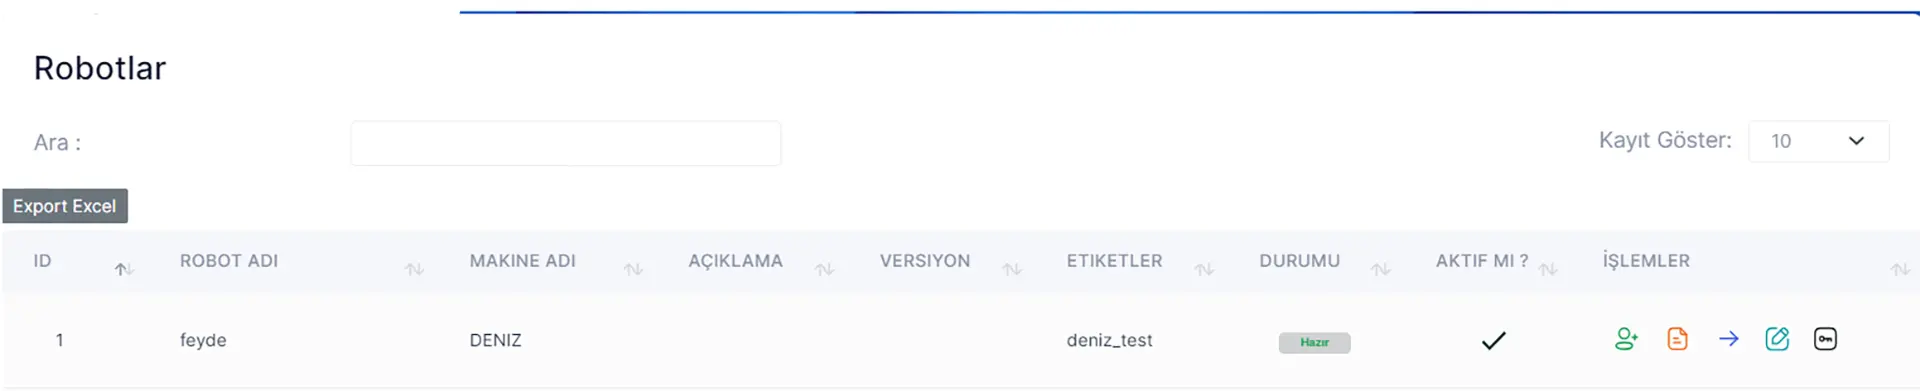
Robots
When you enter the Robots page, you can see detailed information about your robot, whether it is active or not, and its status. You can also assign users to your robot from the Transactions section, match scenarios, trigger or stop your robot, or make the necessary updates from the edit section.
Note: User Assignment and Scenario Matching operations are only valid for the Admin role.
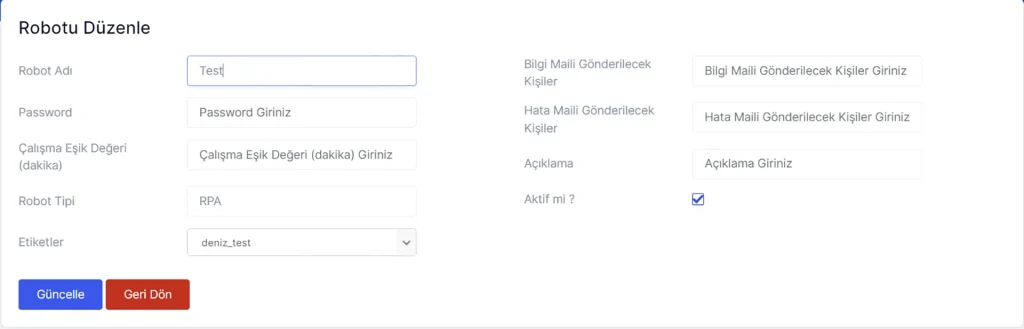
If your Roboto exceeds the Working Threshold Value while working on the scenario you designed, or if you want to receive an information e-mail in case it exceeds it, you can use the “Working Threshold Value” field and give the time in minutes.
Note: The fields you will see on the Edit page vary depending on the user role.
- User Assignment
- Scenario Matching
- trigger
- Edit
- Copy Product Key
Scenarios
When you enter the Scenarios page, you can see the detailed information about your published scenario and whether it is active or not. From the Actions section, you can see the content of your scenario, archived versions, assign users, and add files. When you click the Dashboard button, you can see the activity details you used in your scenario and the number of successfully solved tasks, and make the necessary updates or delete your scenario from the edit section.

- Archived Versions
- Scenario Content
- Assign User
- Attached Files
- Home page
- Edit
- Delete
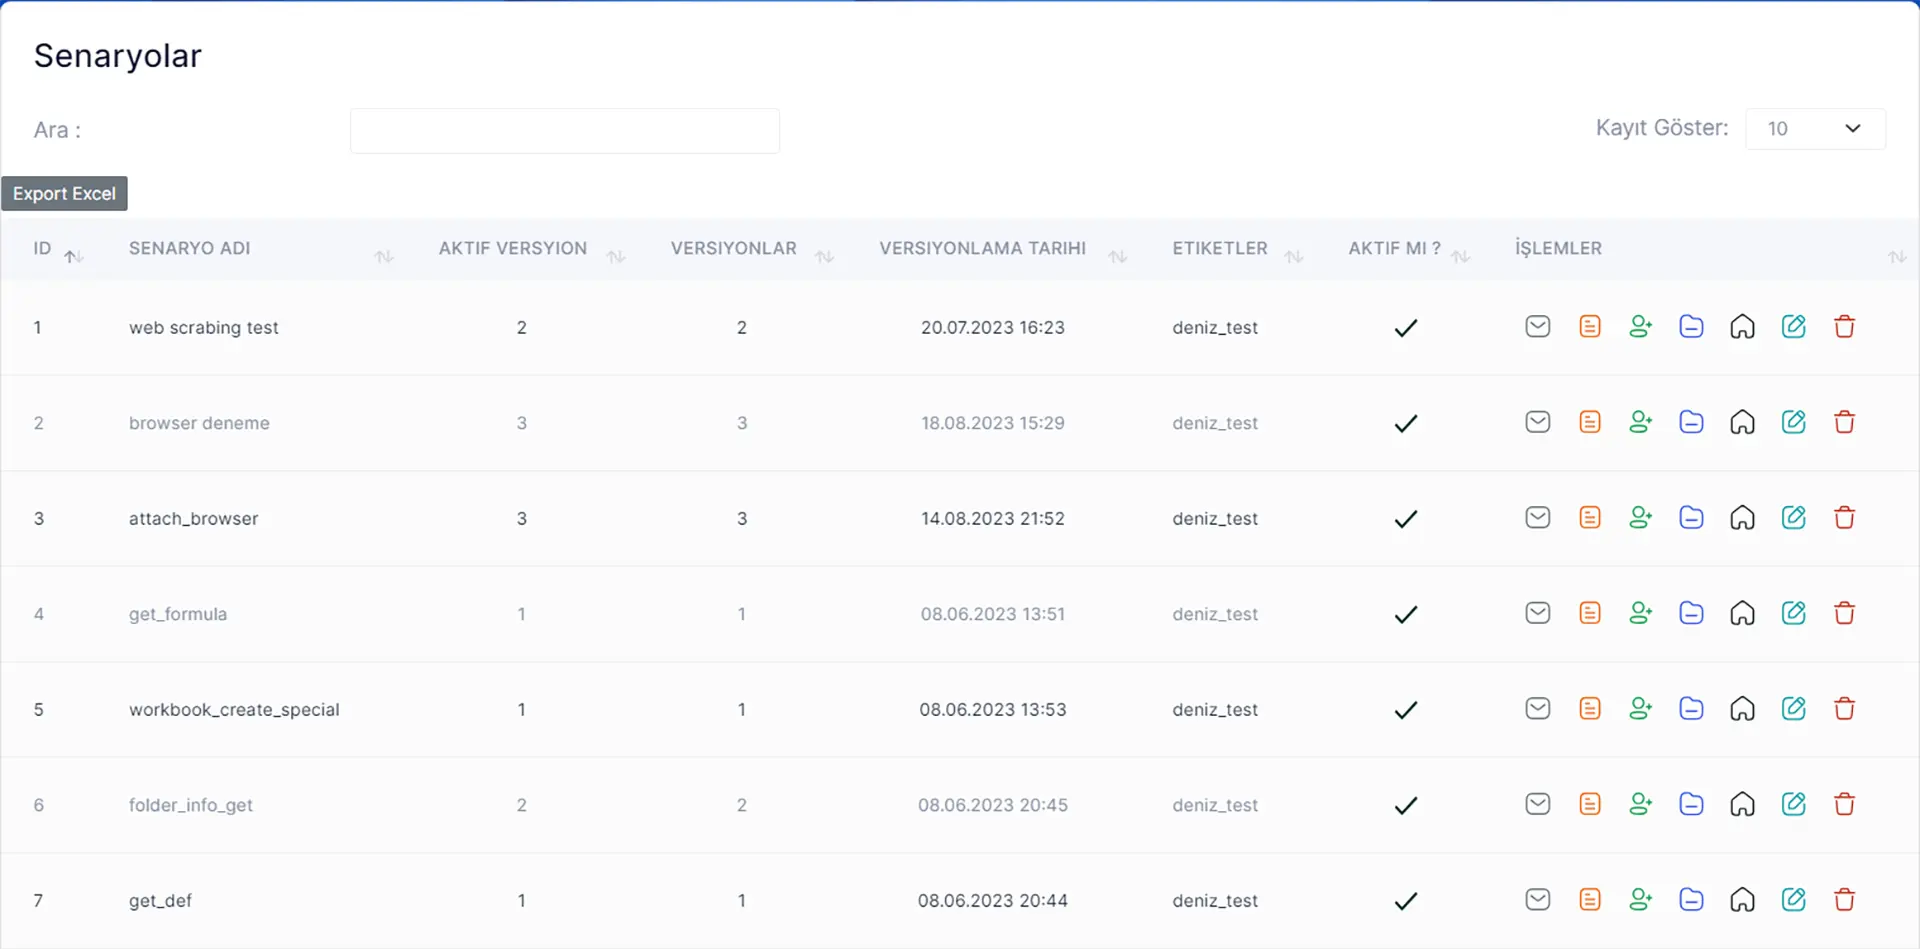
The data in the “Edit” area of the scenario is very critical for calculating the benefits that appear on the Financial Dashboard screens. Calculations are made based on the data in this field.
Estimated number of daily transactions; The scenario is the estimated number of daily shipments of the work done. In scenarios that will run once a month or once a week, daily usage should be calculated and written over 30 days.
For example; For a job that runs once a month, data should be entered as 0.03 with the 1/30 process.
Time taken for a transaction (sec); This is the area where the scenario will be written how many seconds it will take if the job is done with a human. There is no need to divide the time for a job done once a month. Since the estimated number of transactions has already been divided, the duration should be for 1 transaction.
1 minute cost; In this field, cost information for 1 minute of the work in the scenario should be included.
Set Scenario Number Of Run activity; It is critical to add the Set Scenario Number Of Run activity to the step of each scenario where it will finish one process and move on to the next process. This activity detects how many transactions the robot has made and we use this data in our calculations.
When a change is made to a scenario registered on Orchestrator and it is published as a new version, if you want to receive the change information by e-mail, the address information must be written in the “Persons to whom Version E-mail will be sent” field. If more than one person’s e-mail address is to be written, a semicolon “;” is placed between the e-mail addresses. must be added and logged in.
Note: Only people with admin authority can access this area. Roles other than Admin will see this area as passive and will not be able to take action.
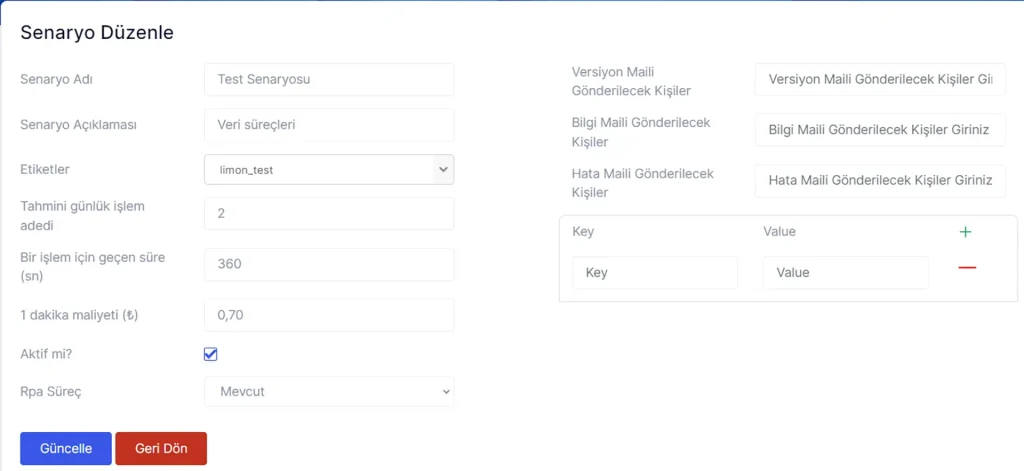
You can use key and value fields for the data you want to record, track or report specific to your scenarios. If you want to add more than one key and value, simply click the plus (+) icon.
Methods

- Assign User
- Method Content
- Archived Versions
- Attached Files
- Edit
- Delete
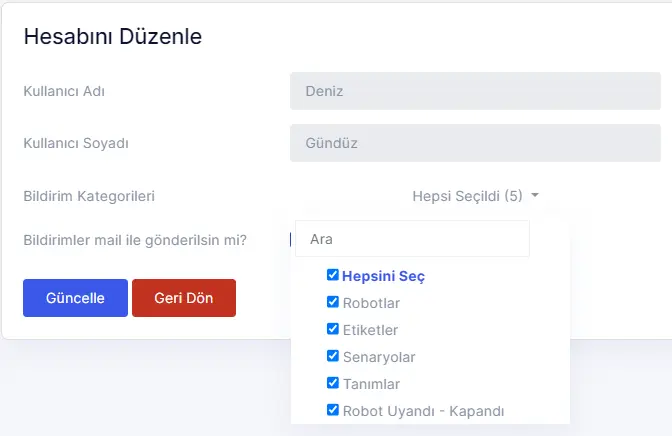
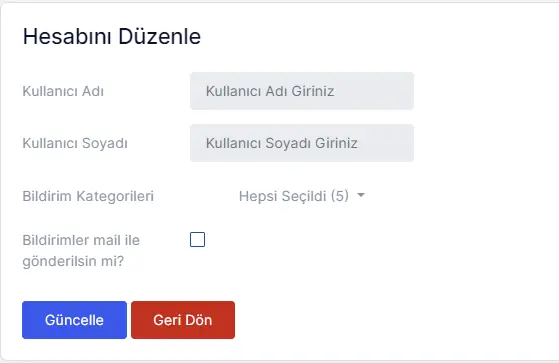
Users
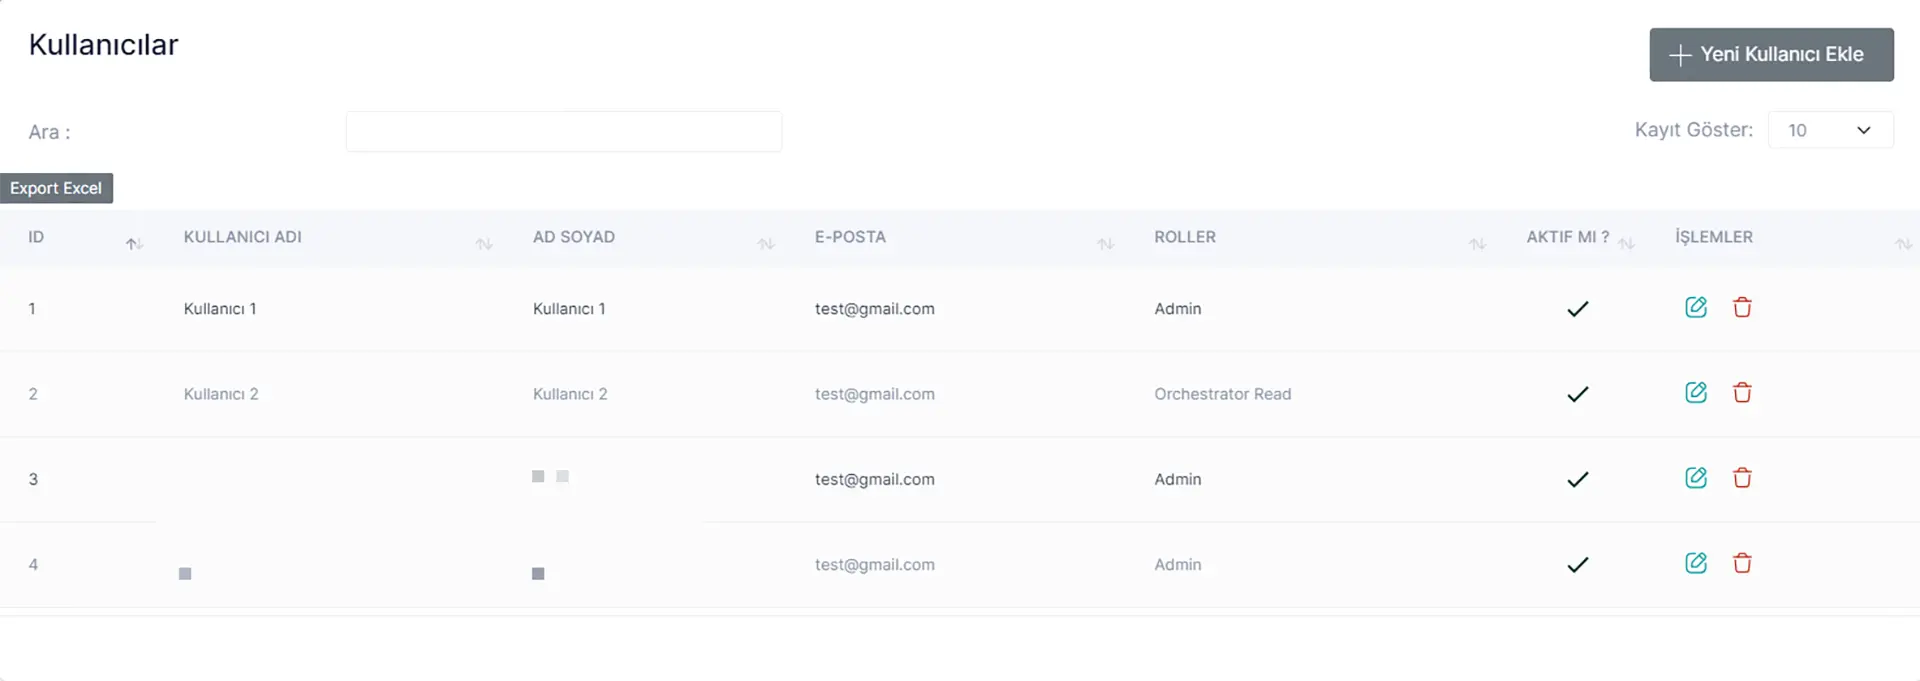
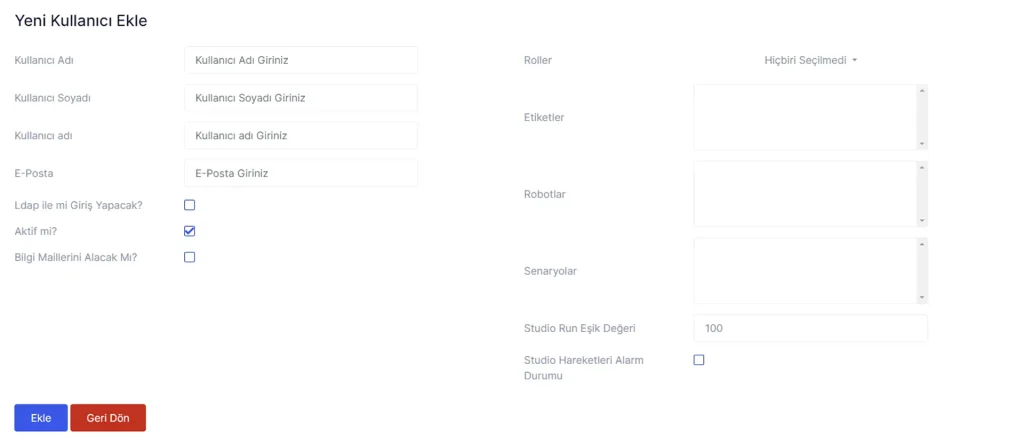
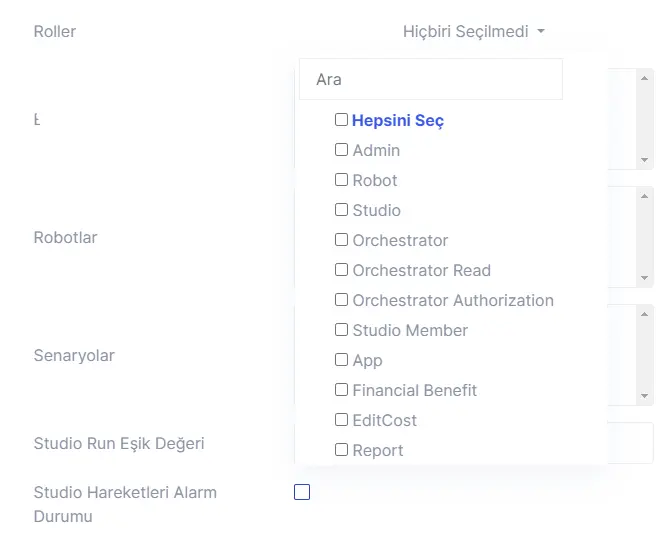
Studio Alarm Feature
It is used to track the trigger movements made by users through the studio. The default “Studio Run Threshold Value” for new users is 100 and this value can be changed as per need. For e-mail notification, “Studio Actions Alarm Status” and “Will I Receive Information E-mails?” options must be selected.

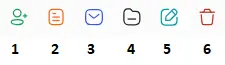
- Edit
- Delete
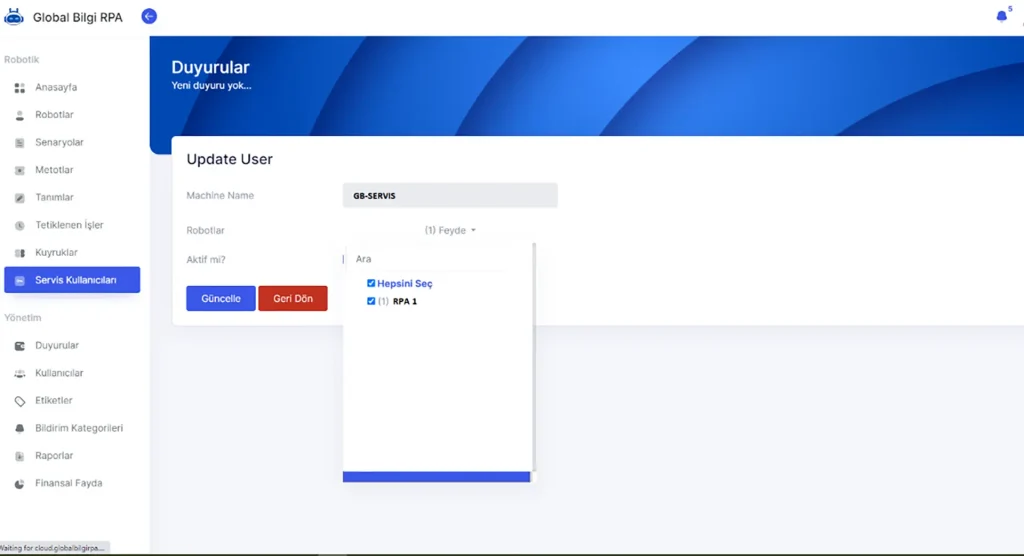
Service Users
With this improvement, your draw robots will now be automatically opened by the robot service.
Your robots (which have application module features in the scenario content) that have to work when the screen is on will now be able to work when the screen is off.
Things to Do to Add Service to the Machine;
- The service must be downloaded from the link provided.
One installation will be sufficient, it will automatically perform version updates after the service.
What needs to be done to add service to the robot after installing service on the machine:
- The robot user must edit the robot via the Orchestrator and enter it into the field, and the password of the robot to be added to the service must be entered in the ‘Password’ field.
- Change of Orchestrator Service Users will occur automatically in your service. Select the robot you want to serve from the editing area.

Who Can Use Robot Service
- All users who do not want to manually change their robots and request it in this section.
- Any robot User with scenarios that keep the screen on.
For robots shown by services in robot service improvement; The robot must now turn on the robot manually. To do this, the connector must log out of the server it is on. According to the robot service, the robots will automatically log in to the server yourself. After logging in, the robot will perform operations through its own session. In this case, the robot can run Windows service-related tasks while the robot screen is closed in order to perform session management. If the user connects to the robot’s server while the robot is running, the user will no longer have control of the session. If you want the robot to be done again, you can open it on the service side.
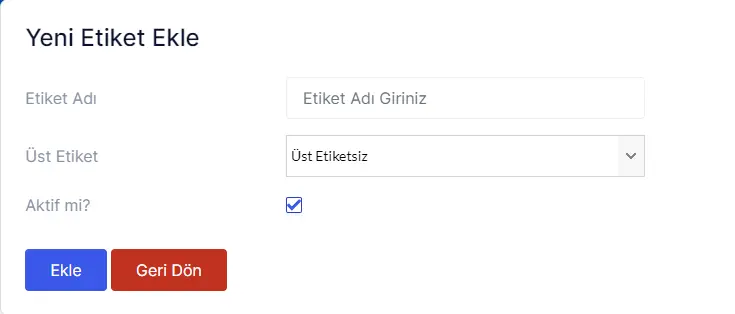
Labels
When you enter the tags page, you can see the defined tags and create a tag from the define new tag page. You can also assign, edit or delete robots and users to the tag you created from the Transactions section.
Note: Only the Admin role has the authority to define new labels.

- Assign a Robot
- Assign Scenario
- Add Description
- Assign User
- Edit
- Delete
Definitions
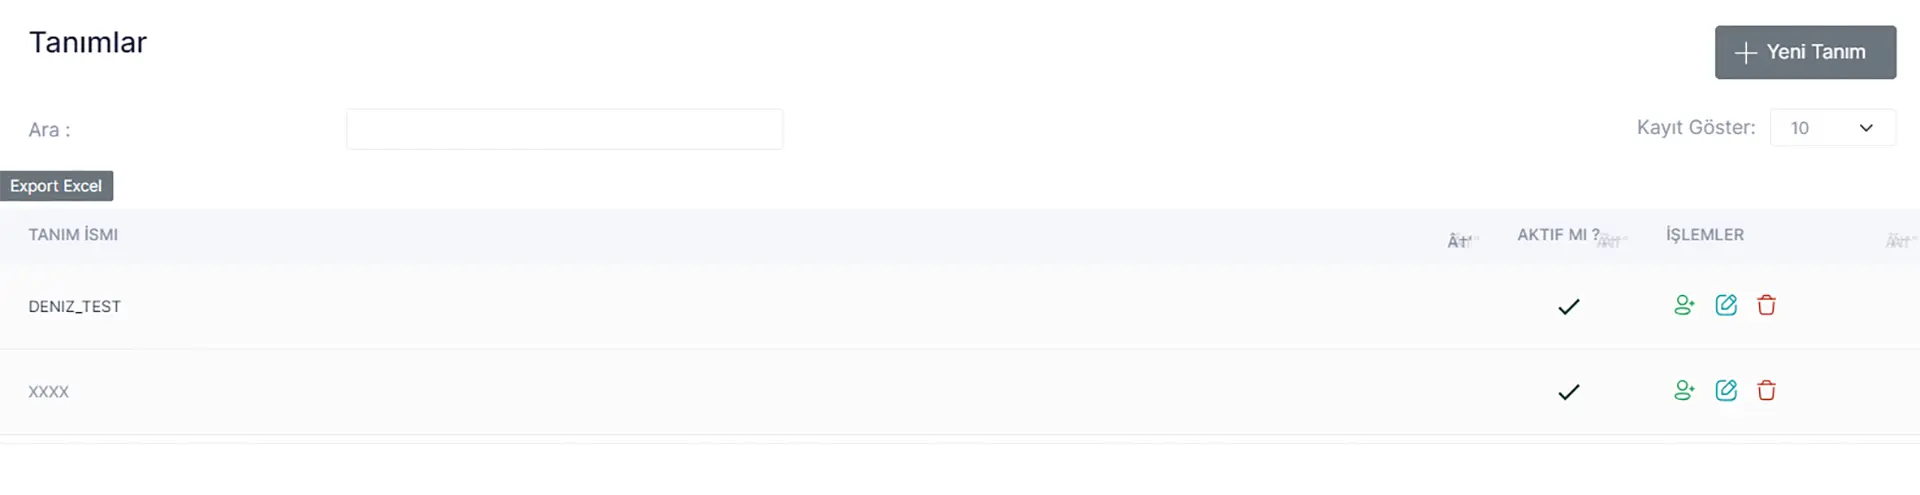
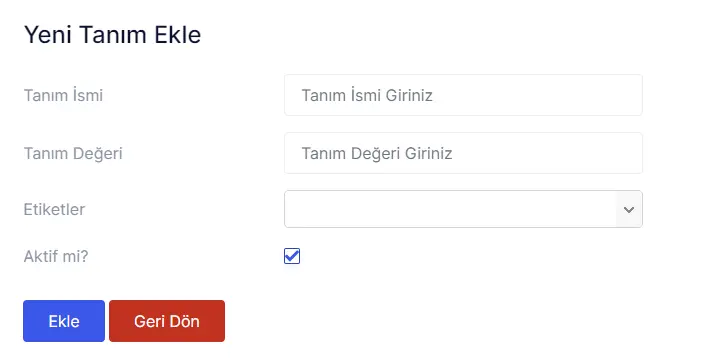
When you enter the Definitions page, you can see the created definition names and add a new definition with the New Definition button. You can also assign, edit or delete users to the definition you created from the operations section.
Note: User assignment procedures are only valid for the Admin role.
You can run these definitions you have created (e.g., e-mail, username, password, etc.) in the studio environment with the Get Definition activity, transfer them to variables, and use them encrypted in your scenarios.
If there is a need for a change in the definition you have created, simply updating the definitions page will be sufficient. There is no need to make any changes to the scenario again.
Note: The definition name to be written in the “Name” line of the Get Defination activity must be the same as the definition name you created in the orchestrator.
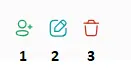
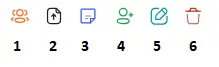
- Assign User
- Edit
- Delete
Tails
The queue structure is the list of items you want processed by robots. You can store these items to view on the orchestrator screen without any data limits.
You can track your scenarios by viewing item details with the queue structure and perform data management with multiple robots. Items added to the queue can be picked and processed simultaneously by multiple robots.
When you click on the Queues tab on the Orchestrator home page, you can view the queues you are authorized for. From this screen; You can create a new queue, view queue items, edit the queue, manually add queue items by uploading an Excel file, and delete queues.
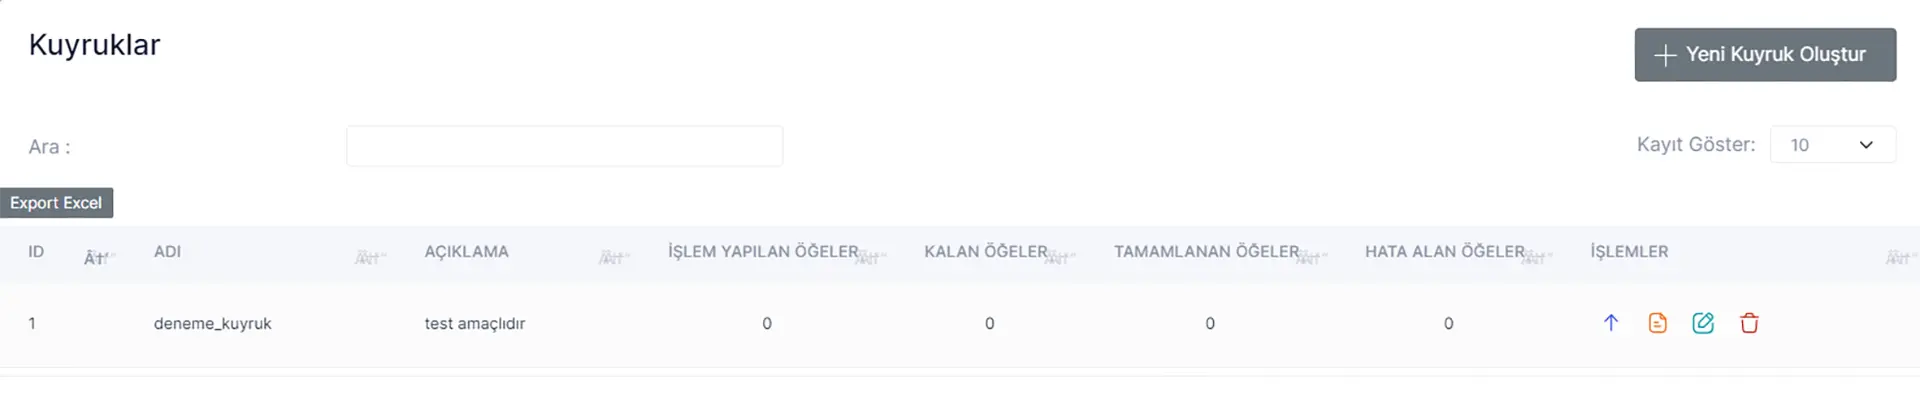
When you click on the Create New Queue button, on the page that opens; A queue name must be entered and a label must be assigned to the queue. Thanks to label assignment, you can only see the queues for which you have authorization. You can also add a queue description if you wish. This description appears in the queues table when you click on the Queues tab.
Note: When specifying a queue name, you cannot give an existing queue name that has been created before. You need to create it with a different name.
When you select the automatic retry option, you must enter the number of retries. When you select this option; It adds the item updated to ‘Failed’ status, which receives an error, to the queue in ‘New’ status, as many times as the ‘number of retries’ you entered. The number of times the item has been attempted is located in the ‘Number of Errors’ column of the queue items table that opens when you view the queue items.


From here you can view all the details of the queue items. Information includes the item reference, the robot user who added or processed the item, the priority of the item, the time it was added to the queue, at what time the item was processed in the scenario, at what time it finished, the user who created the item, the status of the item, and the number of times the same item was executed. You can download and review the Queue report in ‘Excel’ format with the Export Excel button on the top left.
From the Transactions column on the right side of the items; You can view item, Edit Item and Delete Item.
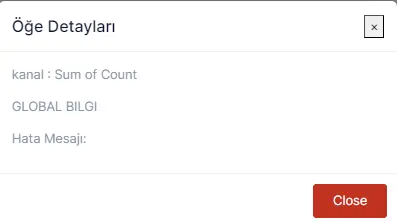
When you view an item, you can see all the details of the item and any error message.
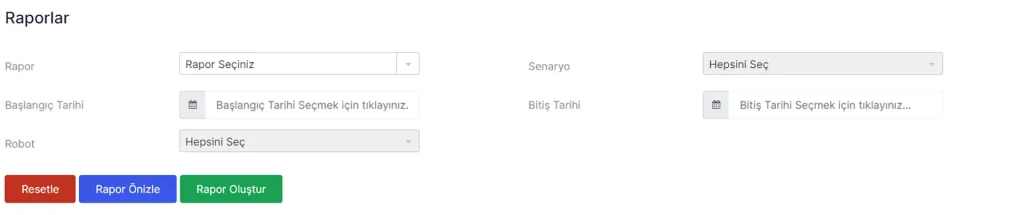
Reports
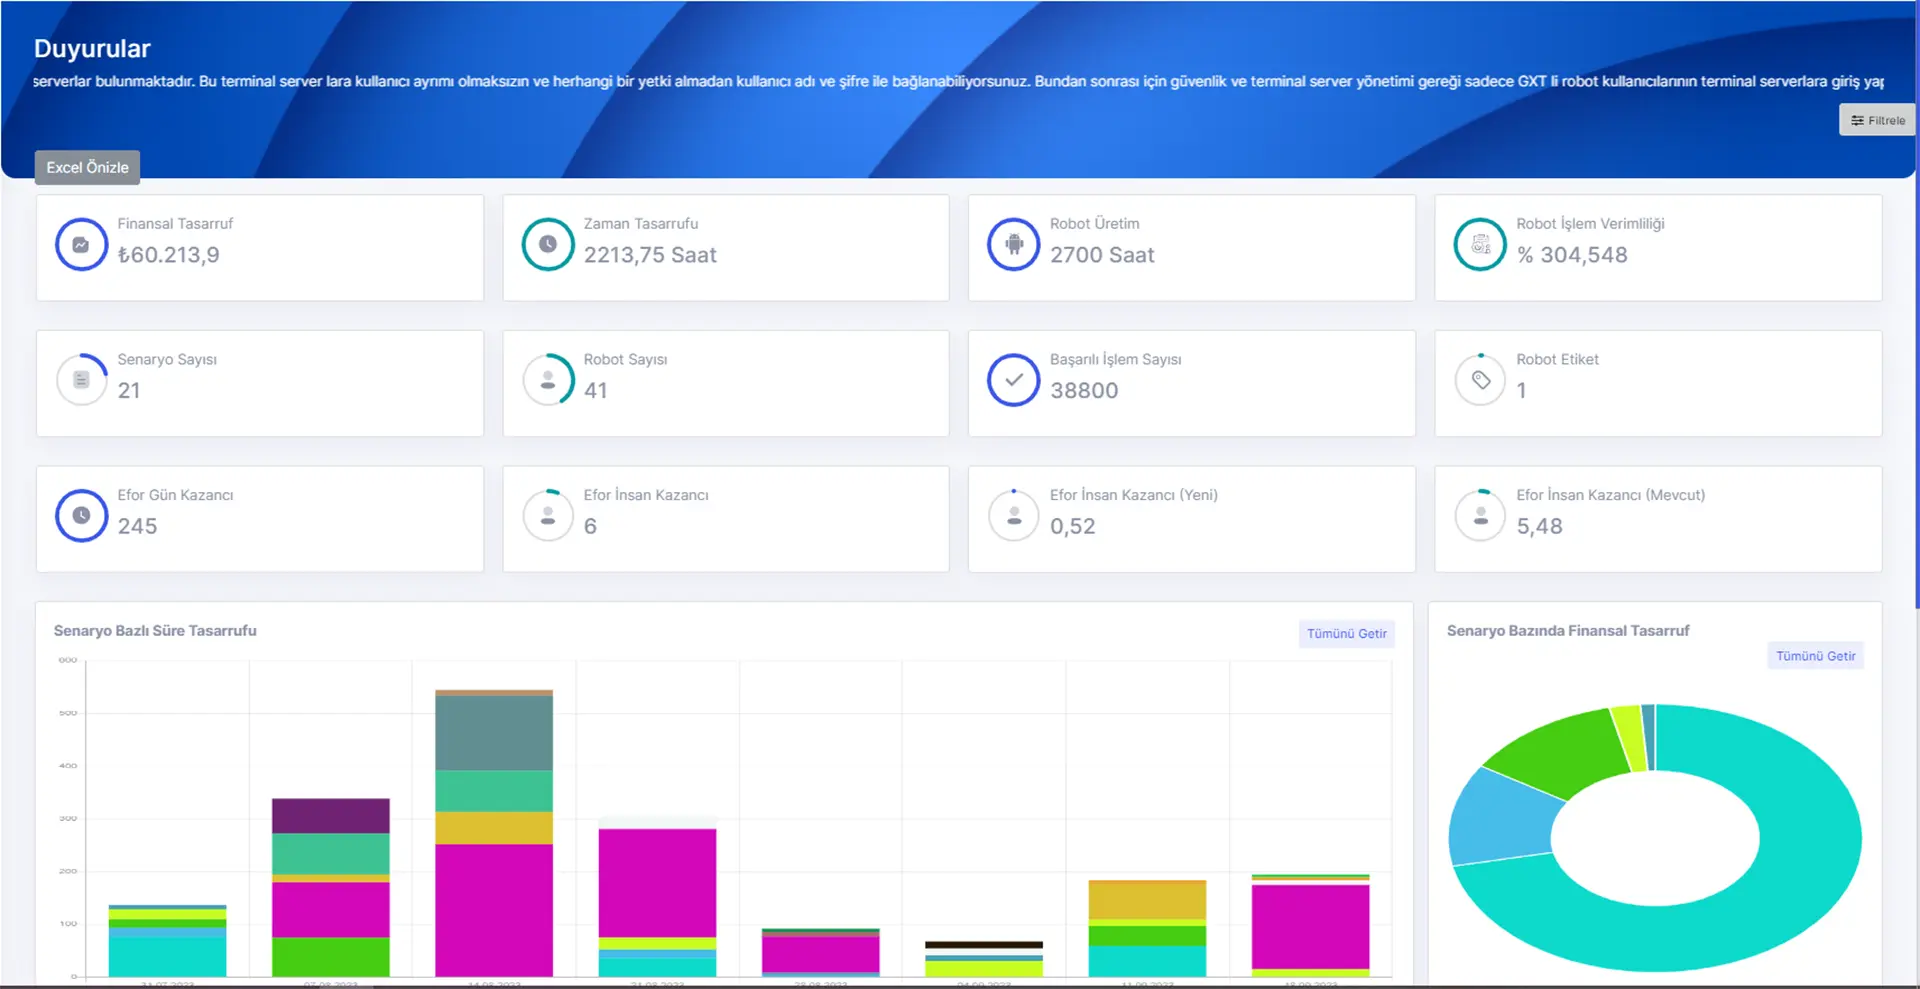
Financial Benefit

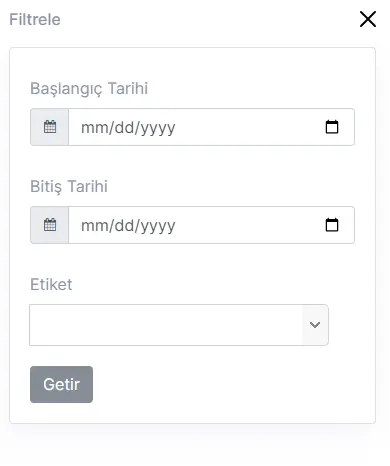
You can select the date range of the data you want to see from the field at the top of the screen, and the labels you have created from the label field. There is the ability to select multiple tags.
According to the selection criteria, the following data comes. The formulas of this data are;
Financial Savings: (1 MIN cost/60 sec) * Estimated time (as stated in the feasibility metrics) for a transaction (sec) * Number of Successful Transactions (Number of tasks solved by the robot)
Time Saving; number of tasks solved (number of tasks solved by the robot) * time taken for an estimated operation (written in feasibility metrics)
Robot Efficiency; Target number of transactions: (Filtered number of days (End date-start date selected on the page + 1) *estimated number of daily transactions (Written in the feasibility metrics)
Number of tasks solved by the robot (in the filtered day range) / Number of target transactions
Robot Production; Display of the robot’s working time in hours.
Number of Scenarios; It is the number of scenarios that work from scenarios that meet the entered criteria and provide financial savings. Scenarios that do not solve tasks are not included.
Number of Robots; This is the number of robots on which the scenarios run. We can see how many robots we have achieved this benefit with.
Number of Successful Transactions; It is the number of successful tasks completed by scenarios that meet the selected criteria.
Ticket; It is the information of how many tags have data in the filter. Sub tags are added to the number
Effort Day Earnings; You can see your robot’s working hours in terms of effort day earnings in the date range you filtered (excluding weekends).
Effort Human Gain; It shows how many people were earned during the period your robot worked during the date range you selected from the filter field.
Effort Human Gain New; You can see the effort savings of your new processes.
Current Effort Earnings Available; You can see the effort savings of your current processes.
Note: You can categorize your new and existing processes by clicking Edit in the “Scenarios” area.
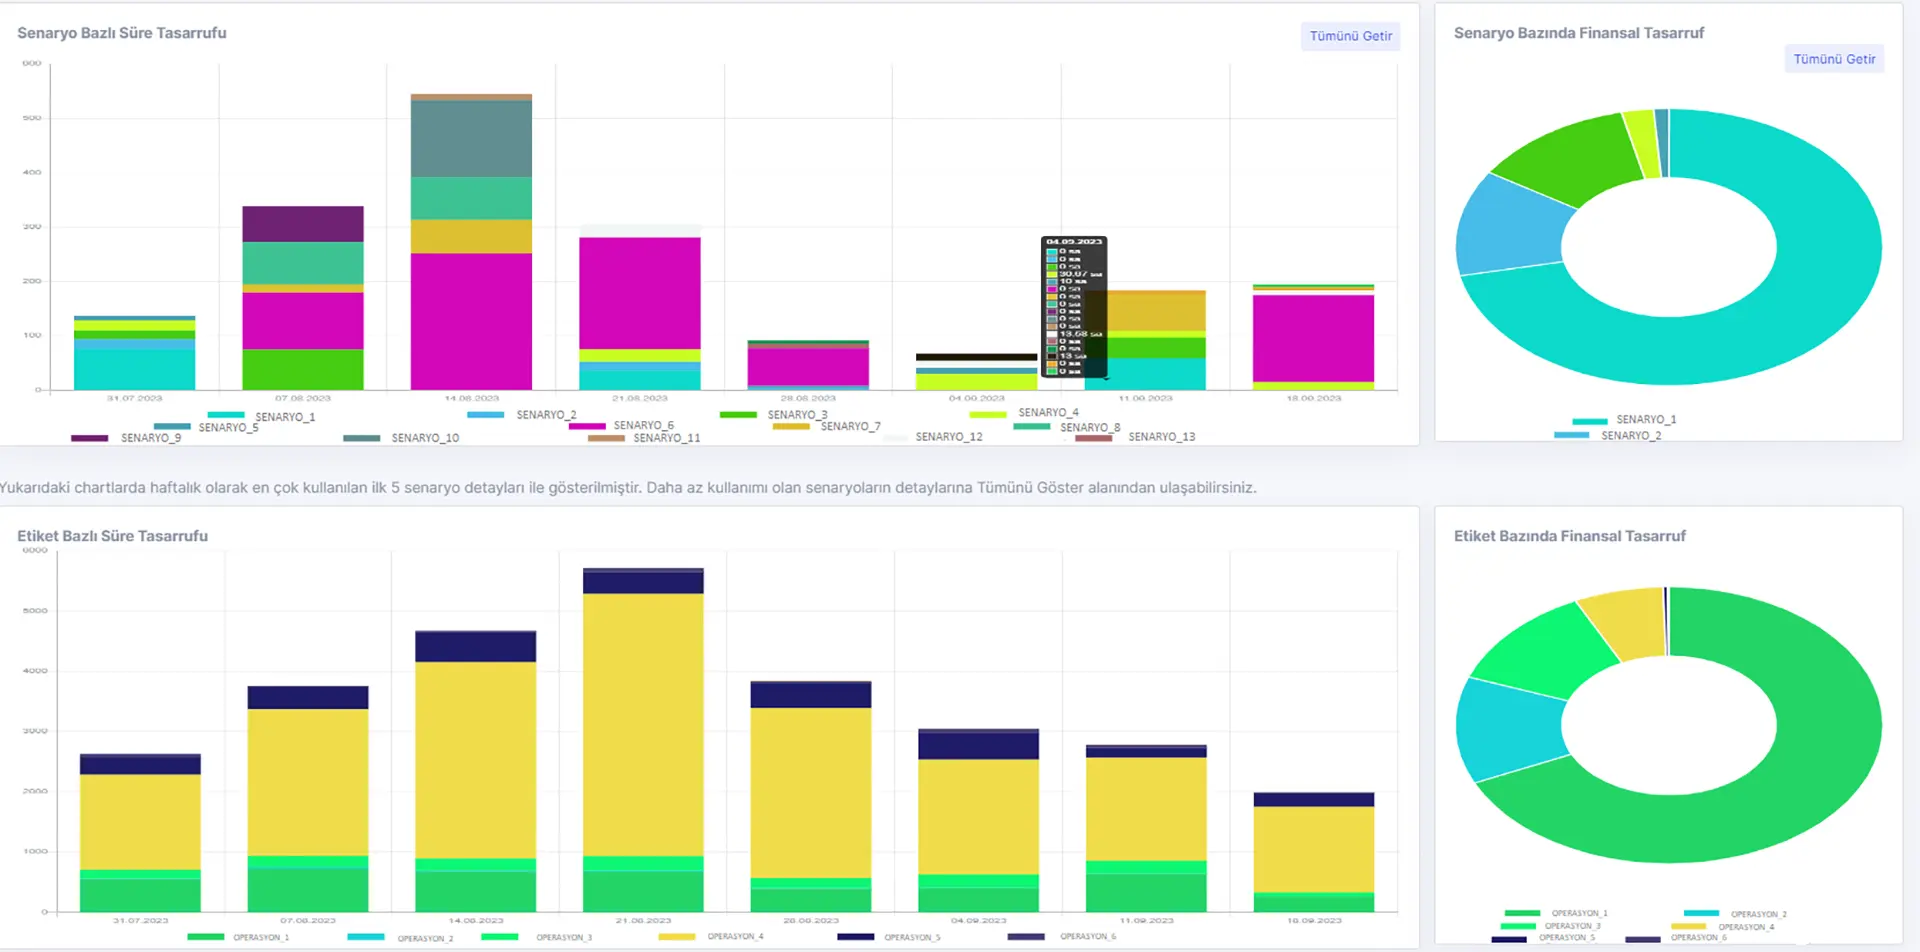
Time saving; It is displayed according to the weeks in the selected date range. We see the weeks in the date range.
Due to the large number of scenarios, the TOP5 scenarios that save the most time for the week are shown. We can access the details of all scenarios from the Show All section.
Financial savings; In the cake display, our financial savings area shows the TOP5 scenarios that provide the most financial savings for the selected criteria. We can also see other scenarios with the show all button.
Note: The data in these 2 displays are fed from different reports. A scenario with high time savings may have low financial savings and not be included in the TOP5, so the colors in this representation have no communication with each other. The 2 tables should be evaluated separately.
Triggered Jobs
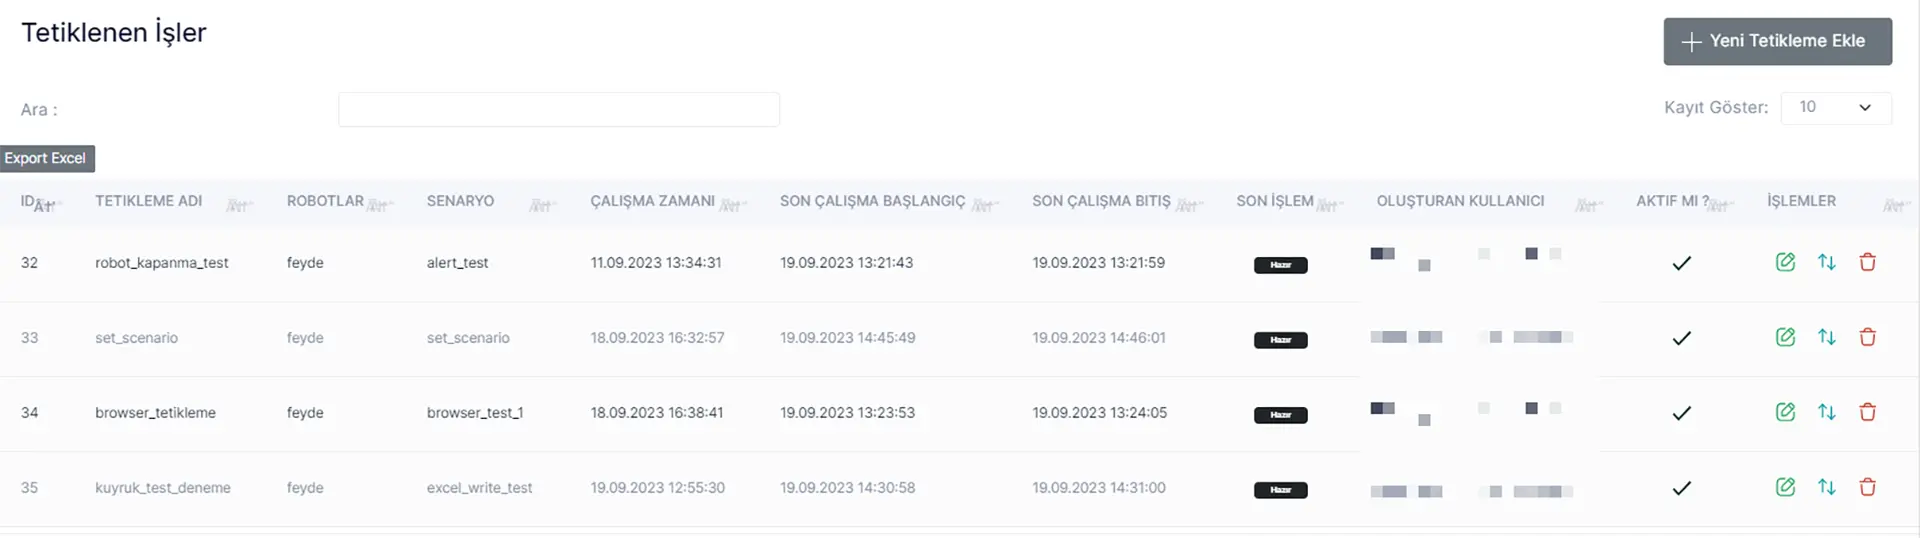
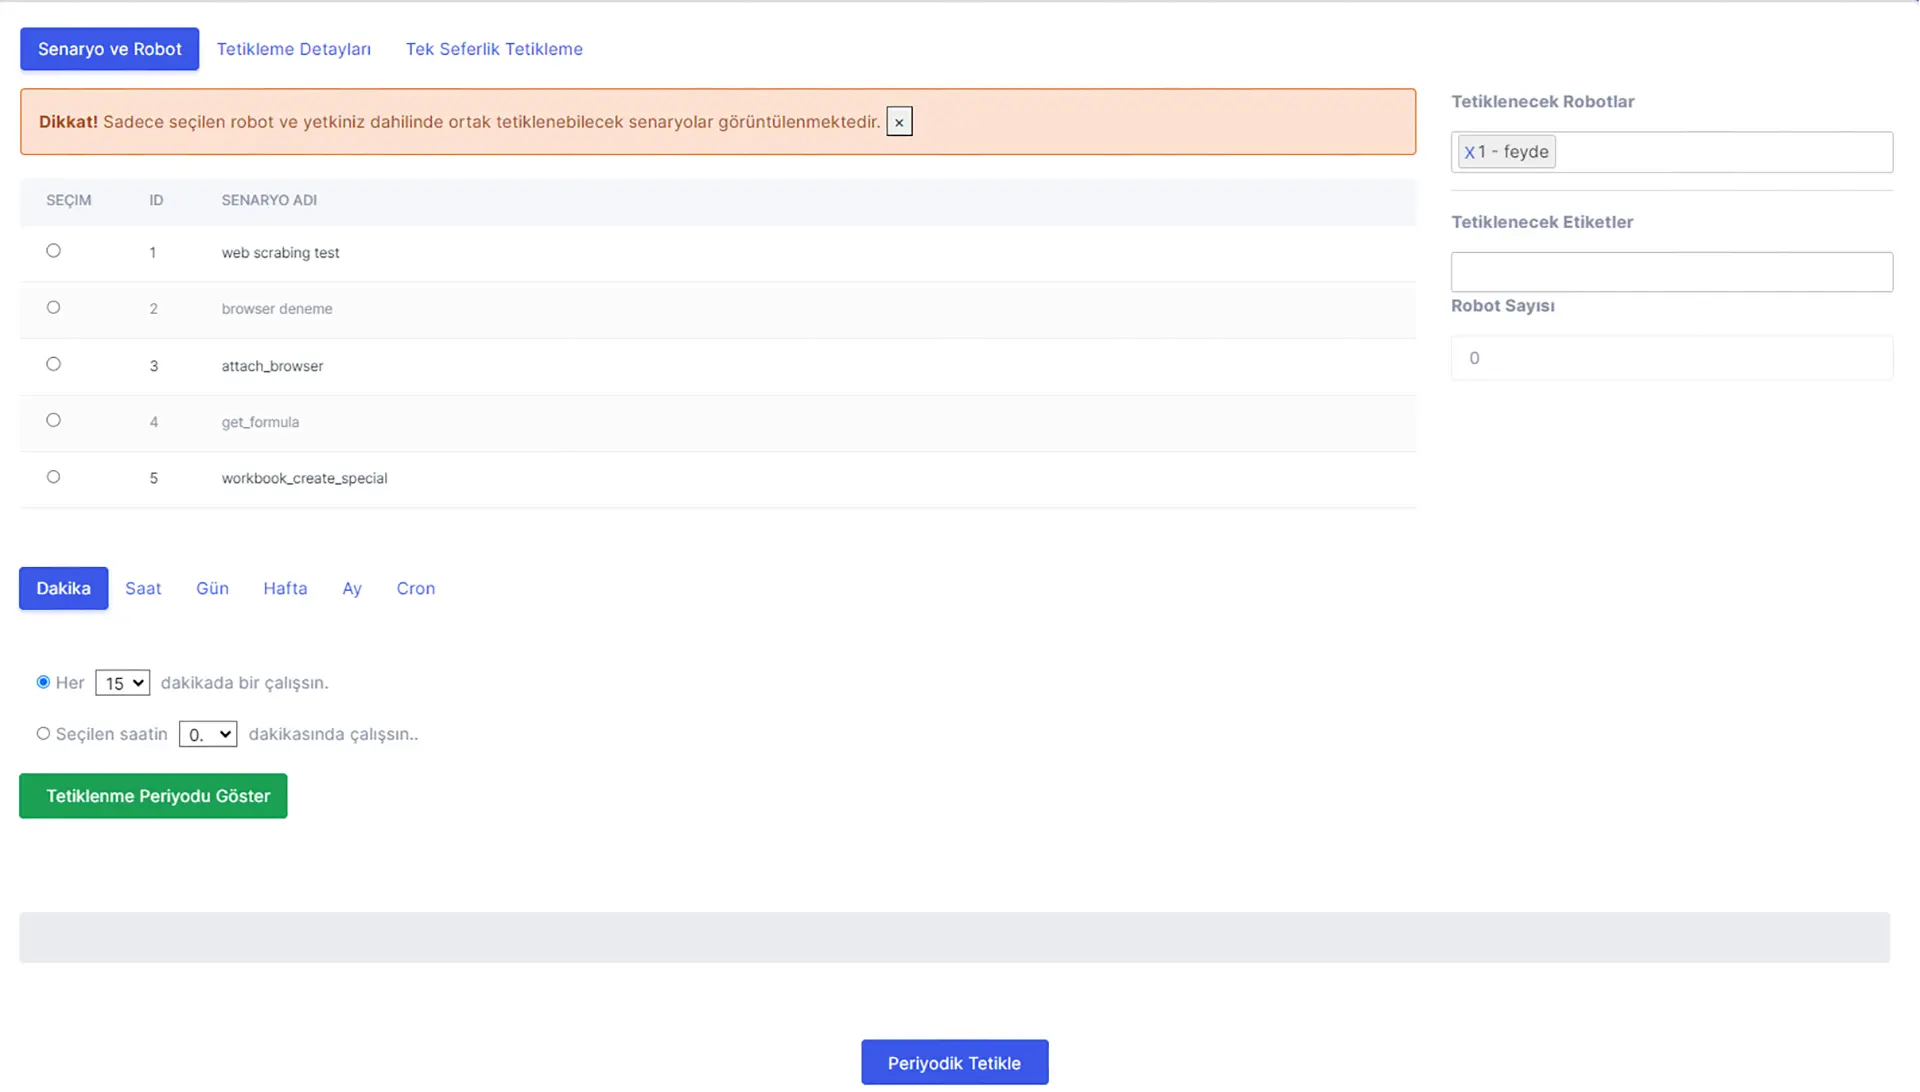
You can also have the triggering operations done by robots connected to the tag. To trigger with a tag, you must be authorized for that tag.
Common scenarios for all tag-related robots are listed on the tag-based trigger page.
The number of robots written in the “Number of Robots” line will work. The only robots that will work will be the robots that are turned on.

1-Scenario and Robot Tab: Here, firstly, the robot is selected from the robots to be triggered field, and then the scenarios assigned to the selected robot and for which you are assigned as a user are listed. You can choose robots and scenarios in this area.
New trigger 1 and 2 combined
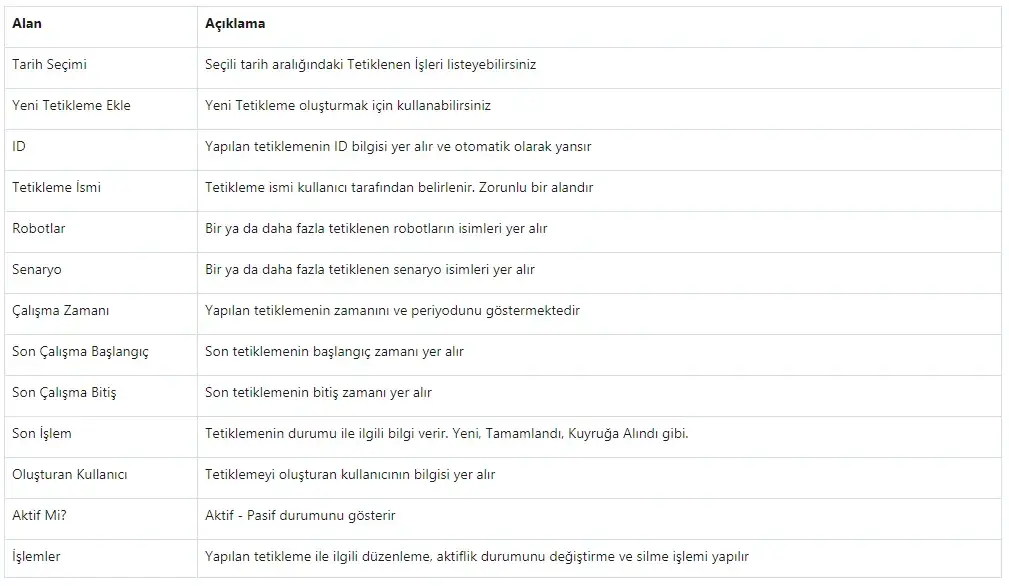
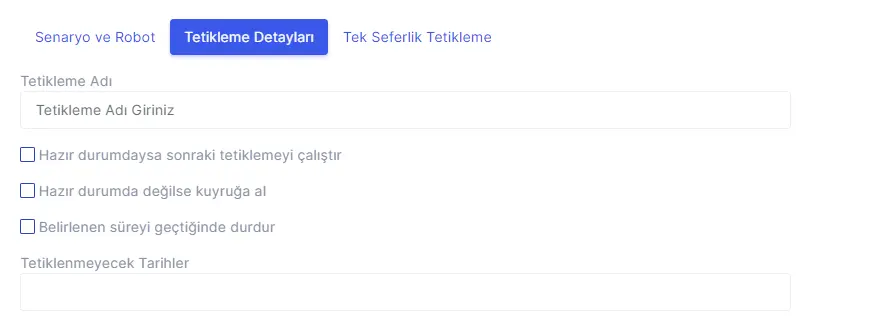
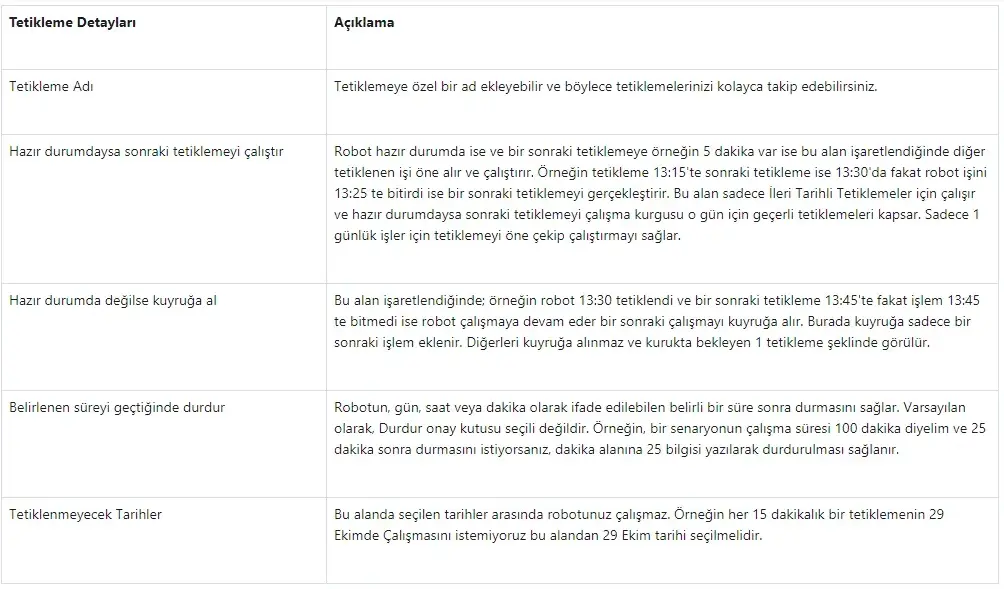
2- Trigger Details Tab: Detailed explanations about the Trigger Details tab are as follows.
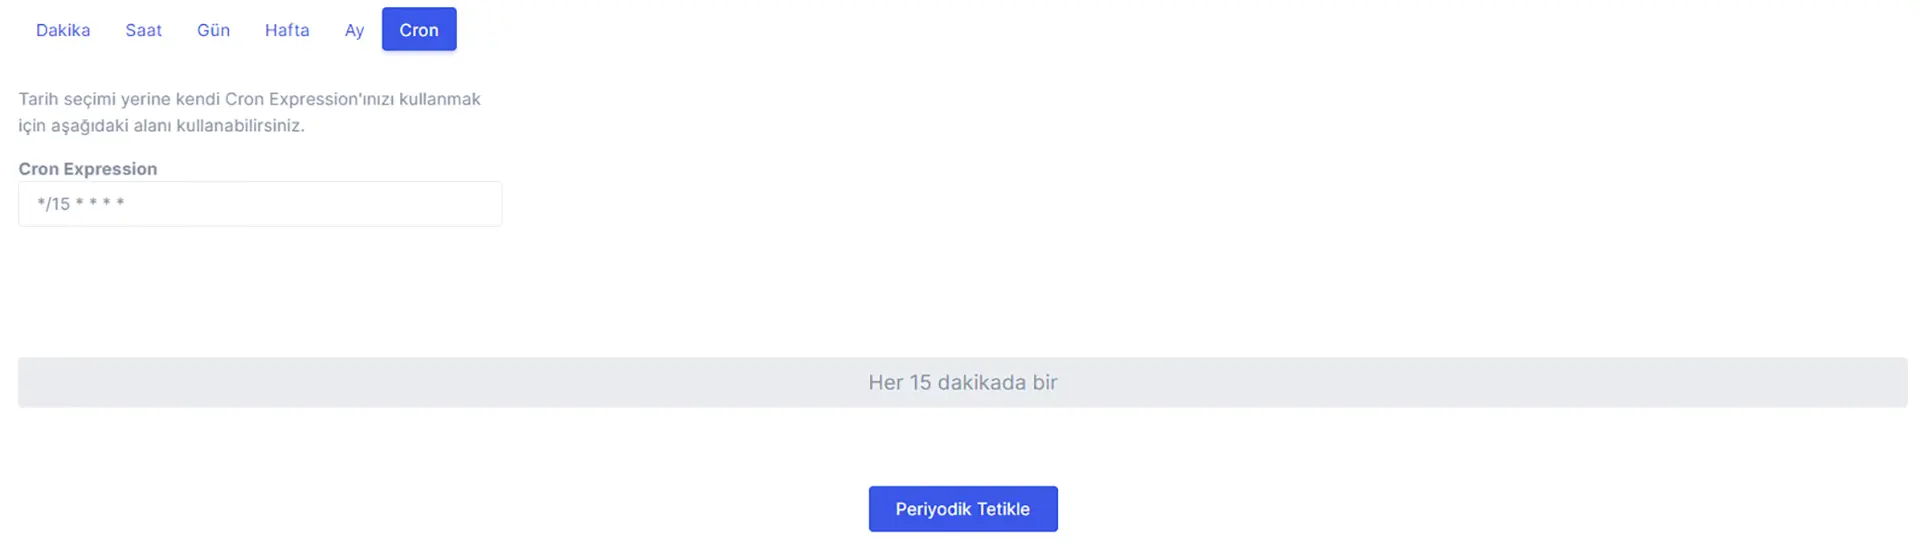
Sample Formats;
*/4 * * * * Every 4 Minutes
0 * 20 7 * Every hour, 20th day of the month, for July only
0 8 1 */3 * 08:00, 1st day of the month, every 3 months
*/10,15,20 * * * * Every 10,15,20 minutes
You can create sample cron from the following websites and trigger your robot for multiple seconds, minutes, hours, days at the same time.
- hostinger.web.tr/rehberler/cron-job
- crontab.cronhub.io
- freeformatter.com/cron-expression-generator-quartz.html
3- One-Time Trigger Tab: From this tab, you can perform Undated Current Trigger and Future Date Trigger operations. Even if an instant or future trigger is made, “Trigger Name” must be written in the Trigger Details tab.
