You can open the application by double-clicking on the Turkcell Global Bilgi RPA Studio icon. If there is an updated version in the application, you can continue by clicking “Install” to download the updated version.
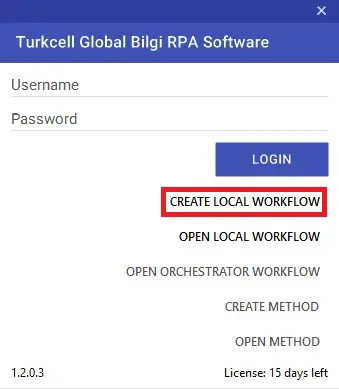
Create Local Workflow
You can start scenario design with Create Local Workflow.
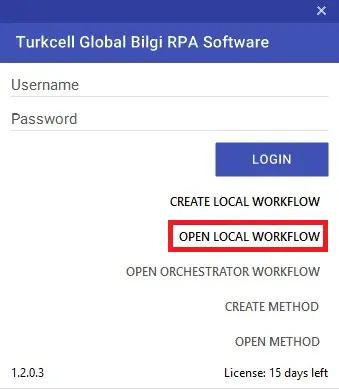
Open Local Workflow
You can open your saved scenario files using Open Local Workflow.
Another method is to double-click on your design file to open it without using Open Local Workflow. If the Studio application is open, the design file will open in a new window, and if it is closed, it will automatically launch the studio application.
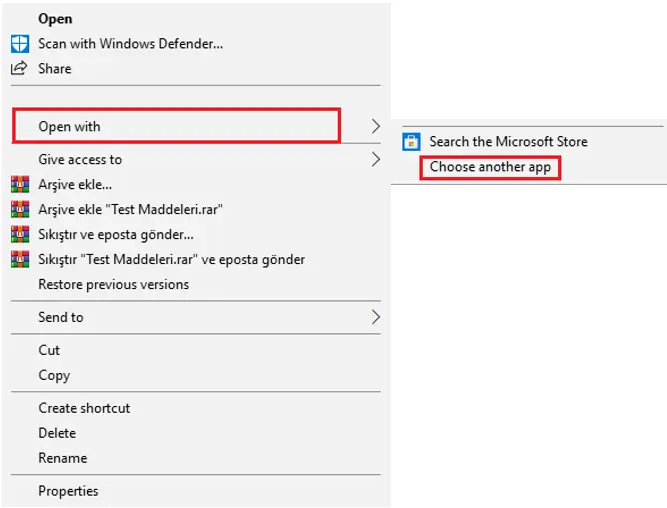
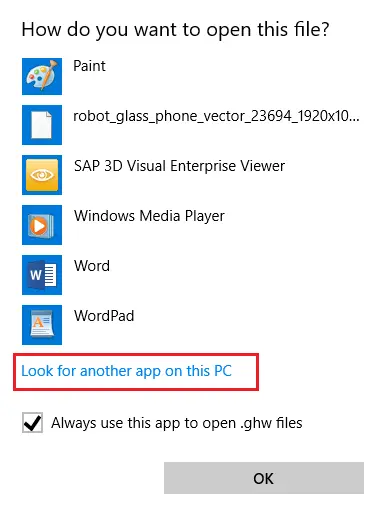
Note: In order to use this feature, it is necessary to select the “Global Bilgi RPA Studio” application that we want to open together through Open With and then Choose Another App by right-clicking on your design files.
Studio Information
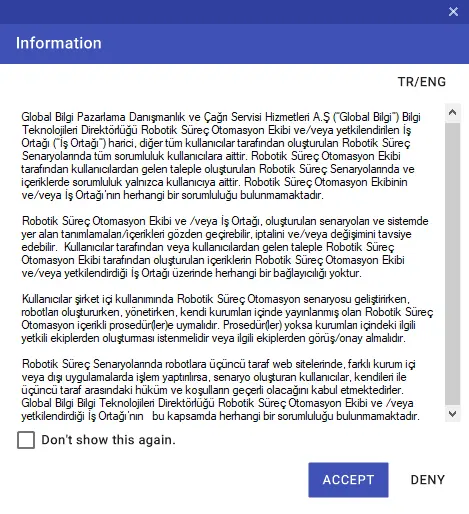
There is an informative text about the liability of the people who design from the contents of the scenarios designed in the Studio environment. When ‘do not show this again’ is true and ‘accept’ is chosen, the obligation is accepted and the studio application is opened for use. In the Deny option, the notification pop-up appears again to use the studio. If ‘do not show this again’ is false, if it is accepted, the studio will open, but the notification pop-up will appear again in the new use.
Studio Login
If you are a user defined in Orchestrator, you can log in using your username and password. On the Studio login screen, the Open Orchestrator Workflow, Create Method and Open Method buttons are inactive. In order for these buttons to be active, it is necessary to log in with a user name and password. The account used for login must have Orchestrator authorization.
Open Orchestrator Workflow
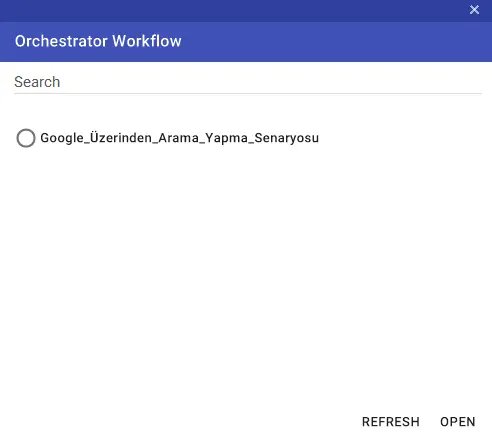
After logging into the Studio screen, you can open the scenarios for which you are authorized with Open Orchestrator Workflow.
When you want to open a previously published scenario with Open Local Workflow and publish it again, you can upgrade your current scenario to a new version by using the “Over Right” feature.
Things to consider in order to do this:
You must have the user privileges of the scenario you want to do Over Right.
The names of both scenarios must exactly be the same.
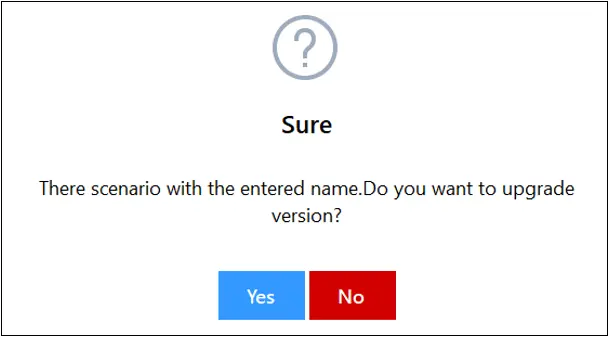
If you have the user authority of the scenario you want to Over Right, you will see a warning like the one below.
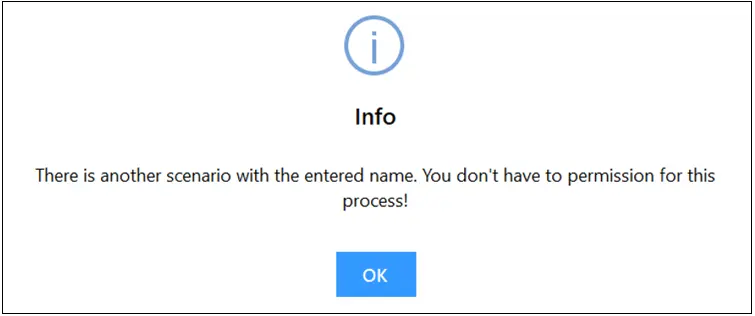
When “Yes” is selected for the alert that appears, a new version of the scenario will appear on top of the live version. If you do not have the user authorization of the scenario you want to go live with the same name, you will encounter a different alert.
Note: Using this feature, you can save your live scenarios to your local computer, work on them and then take them live as the next version.
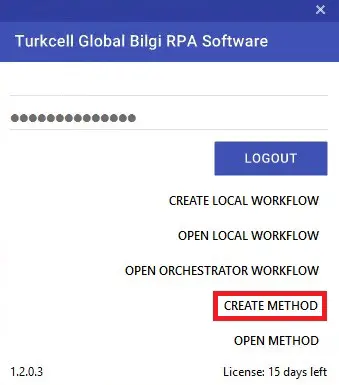
Create Method
Using the Create Method, you can create ready-made templates for your scenarios.
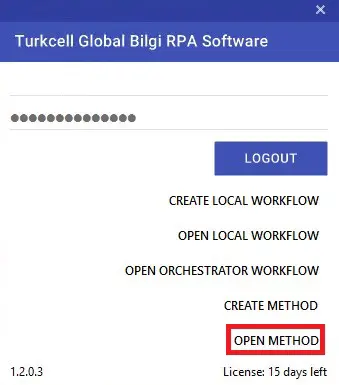
Open Method
You can open the templates you have prepared using the Open Method.
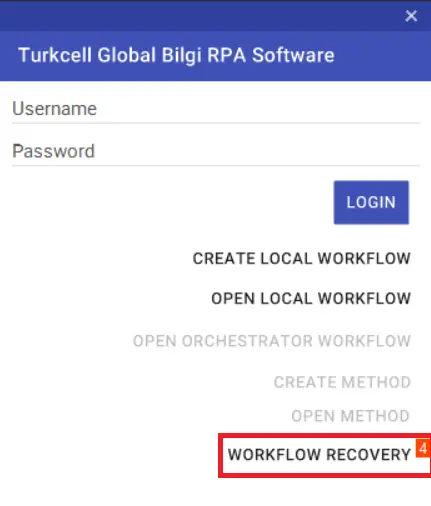
Workflow Recovery
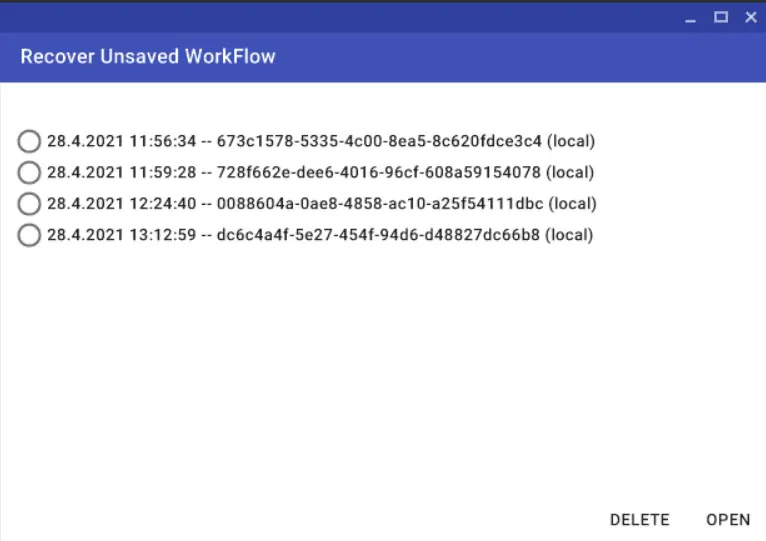
The Workflow Recovery feature provides access to the designed scenario in cases where the studio screen is closed without saving.
Using this feature, recordings are made automatically every five minutes. You can access the recovered design files through the “Workflow Recovery” button in the login window.
Web Scraping
Using the Web Scraping feature, you can create tables, sequential texts, etc. on websites. You can transfer fields to variables of type Collection in one go. You can run the Web Scraping wizard by clicking the “Web Scraping” button on the Studio screen.
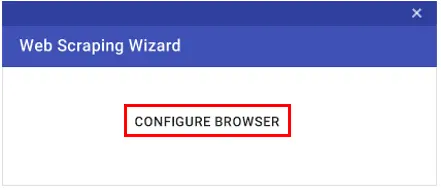
You can enter the website information on the website on which operation is to be performed by clicking the “Configure Browser” button in the window that opens.
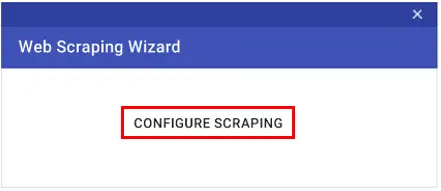
After the website information is entered, you can click on the “Configure Scraping” button and perform the operations related to the table to be imported.
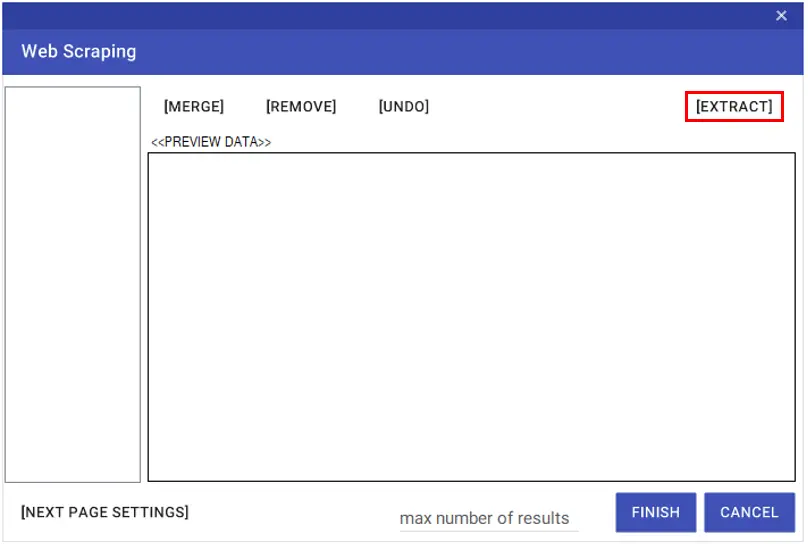
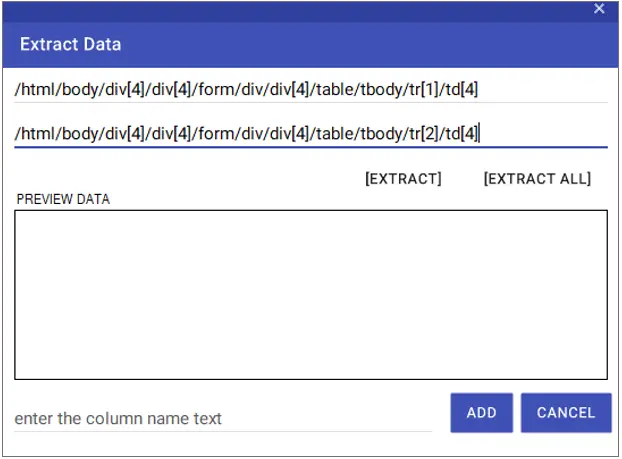
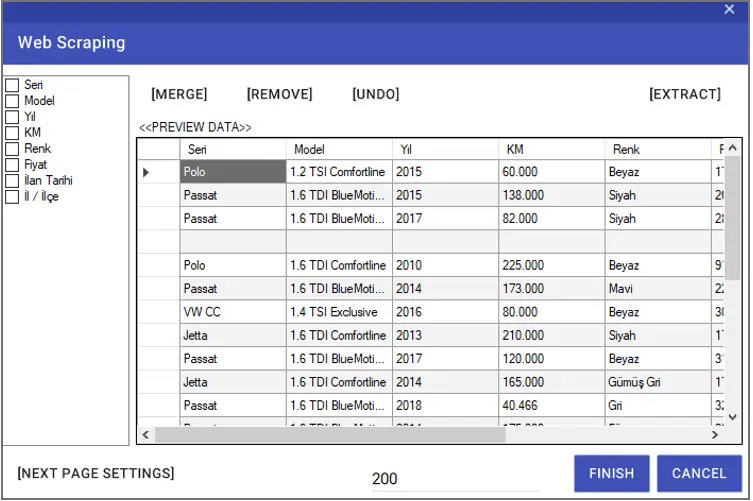
On the screen that opens after clicking the “Scrape Data” > “Extract” buttons respectively, the Xpath information of the two sequential rows of the table is entered into the relevant fields.
Using the “Extract” button, you can add only the column with the entered rows. To give a name to the added column, you can enter the name to be placed in the “Enter the ciumn name text” line. You can complete the column import process by saying “Add”. You can get all columns of the table with the “Extract ALL” button.
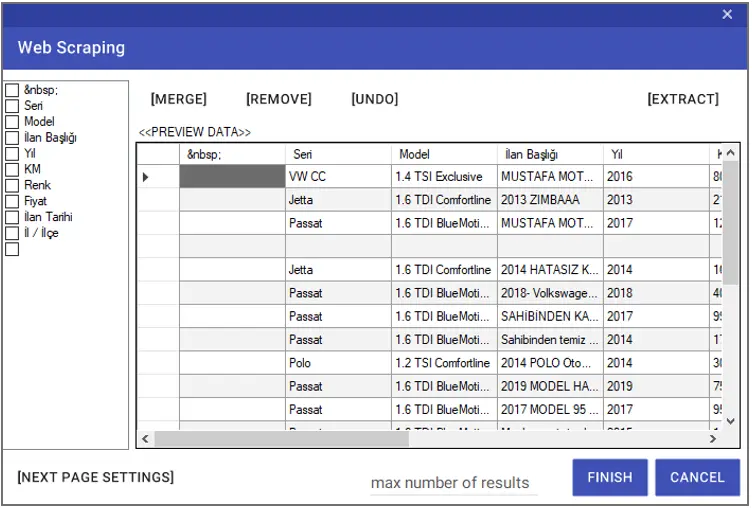
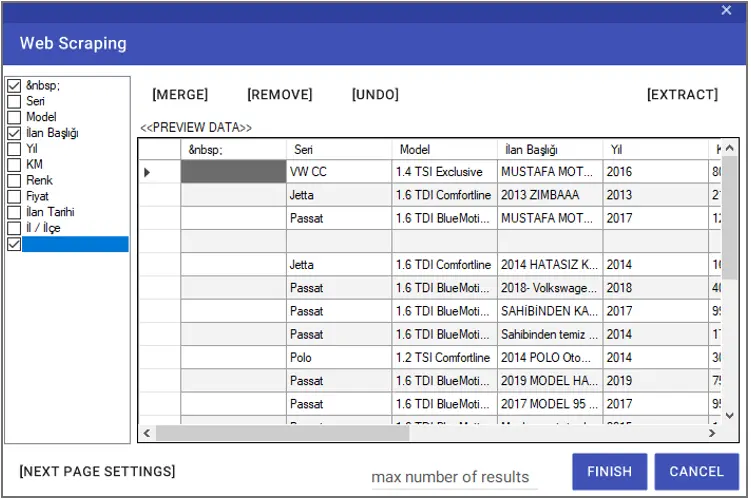
If any, you can select the columns that need to be deleted from the left window and delete them using the “Remove” button. To change the existing names of the columns, you can double-click on the titles in the left window and assign a new name.
You can undo the last operation using the “Undo” button. You can merge the selected columns with the “Merge” button. In order to enter the number of lines to be taken, it is necessary to enter the “Max number of results” line.
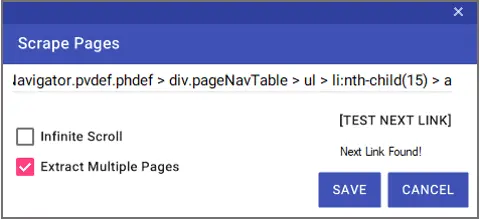
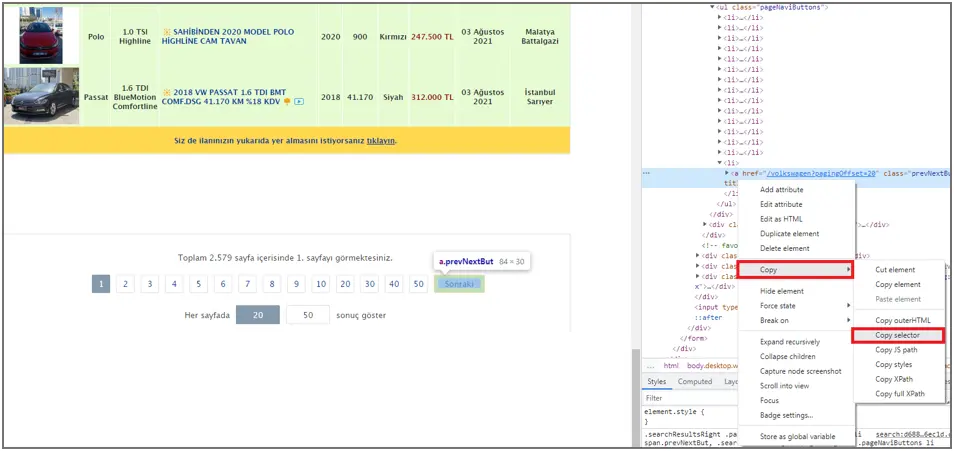
If the records on the website continue from another page, you can make the definitions in the “Next Page Settings” window to get the records here. The “Selector” information of the “Next” button on the web page must be entered in the relevant line in the window. You can test the accuracy of the Selector information entered with the “Test Next Link” button.
In order to access the “Selector” information, it is necessary to right-click on the source code of the relevant button and select Copy > Copy Selector.
The “Infinite Scroll” option is used to scroll down and access other records on web pages where the next button is not available.
You can save the definitions by pressing the “Save” Button.
After making all the adjustments, you can close the Web Scraping wizard by clicking the “Finish” button.
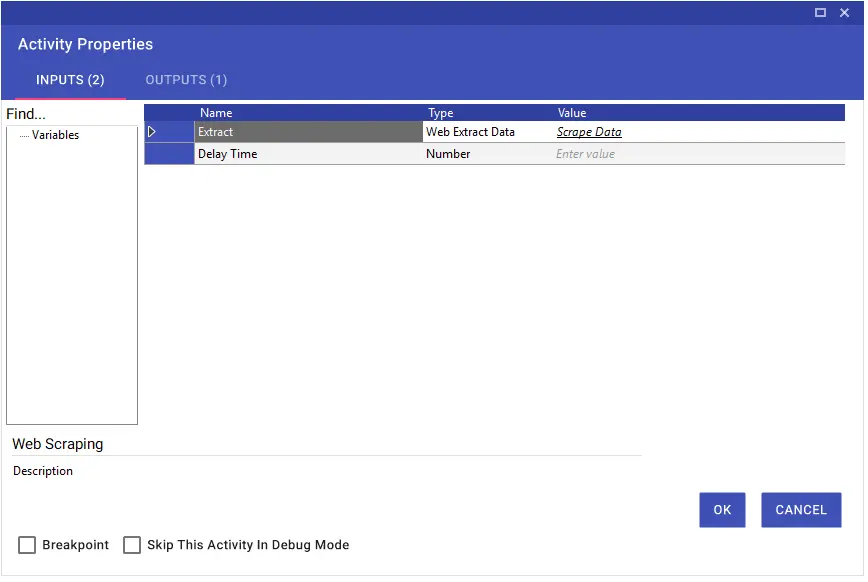
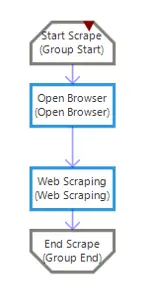
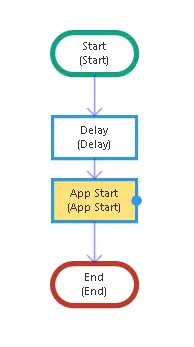
After the wizard closes, activities will be added to the design screen as in the image. You can add these activities to the relevant area of the scenario.
Activity Description Bubbles
When you come over the activity with the mouse, you can access the short descriptions of the activity.
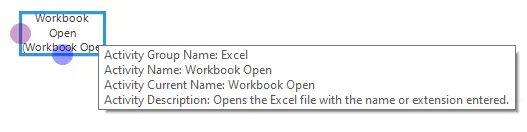
Activity Preview Bubble
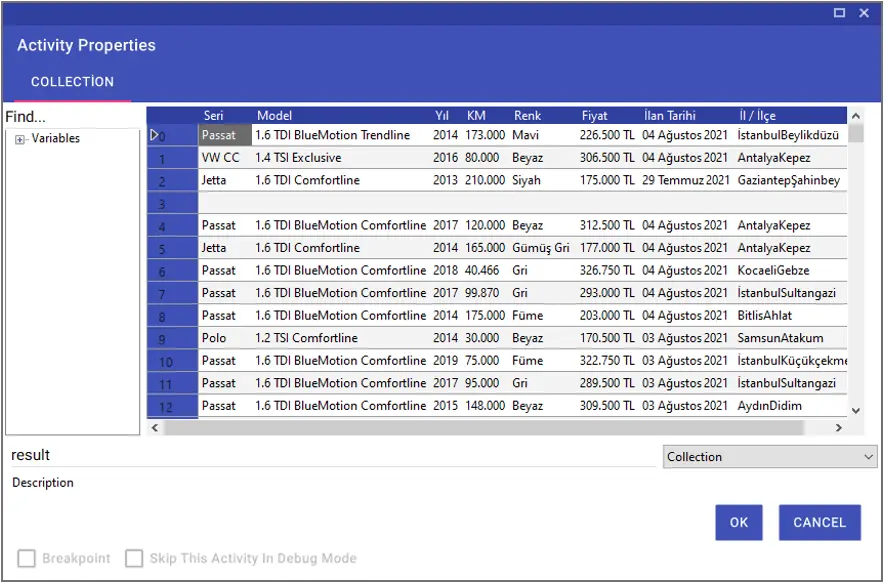
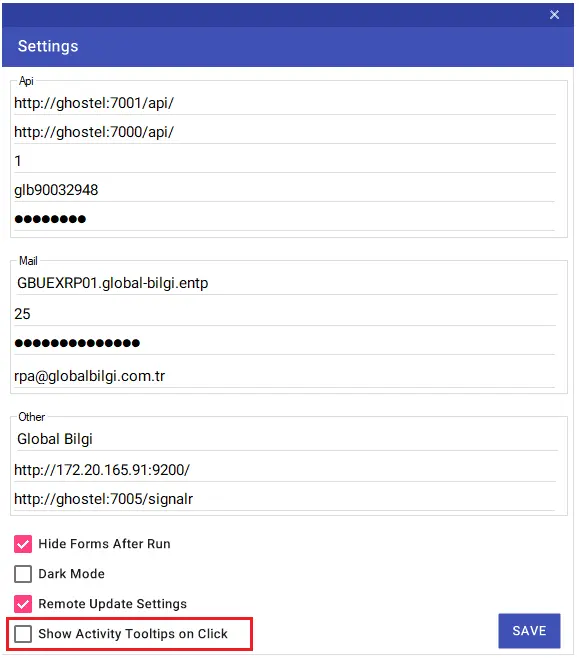
With the Activity Preview Bubble, you can view some details of the selected activity. You can turn the preview feature on or off by using the “Show Activity Tooltips on Click” option from the studio’s settings.
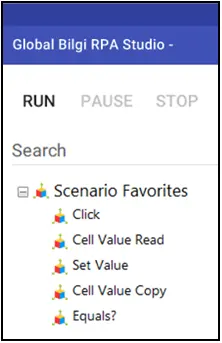
Scenario Favorites
You can see the 5 activities you use most in the scenario through the “Scenario Favorites” field. The activities are sorted from largest to smallest.
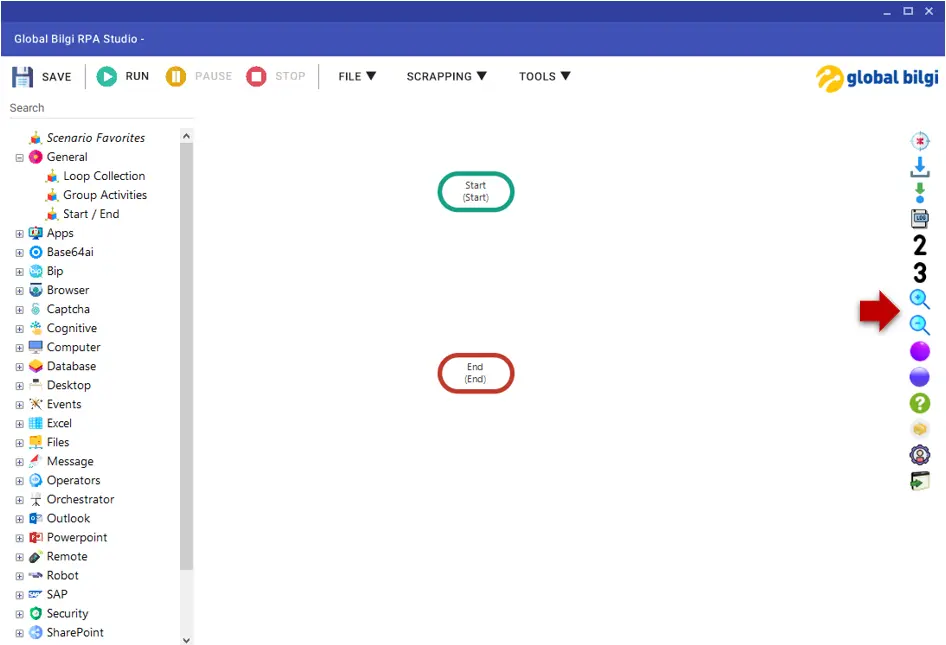
Desing Area Zoom
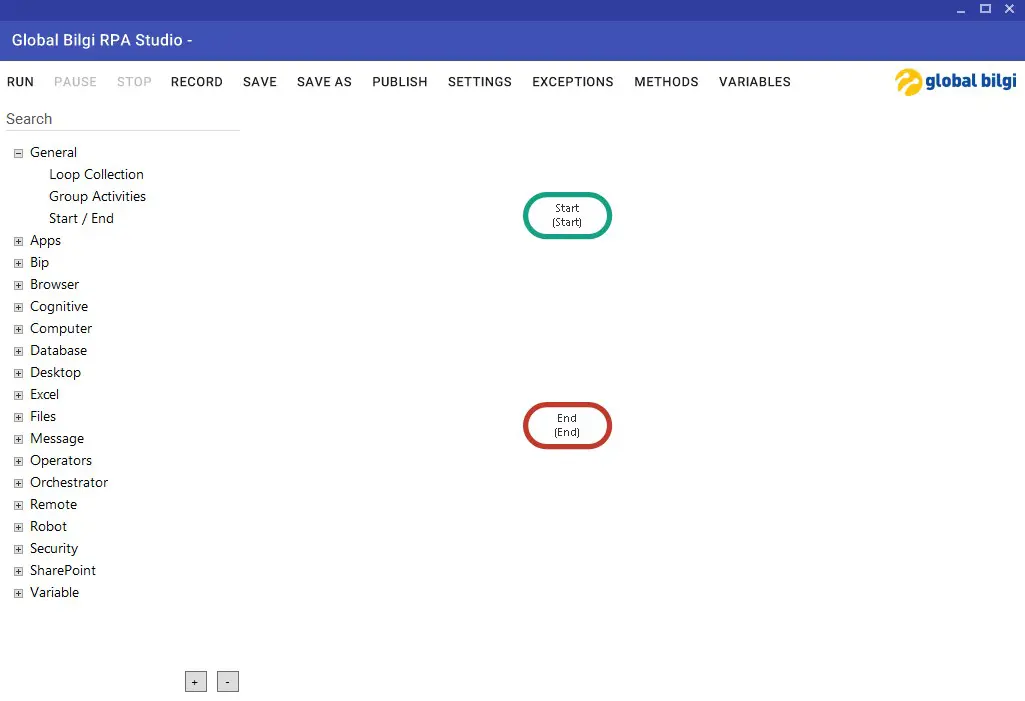
You can zoom in and out the design screen using the “+” and “-” keys on the design screen.
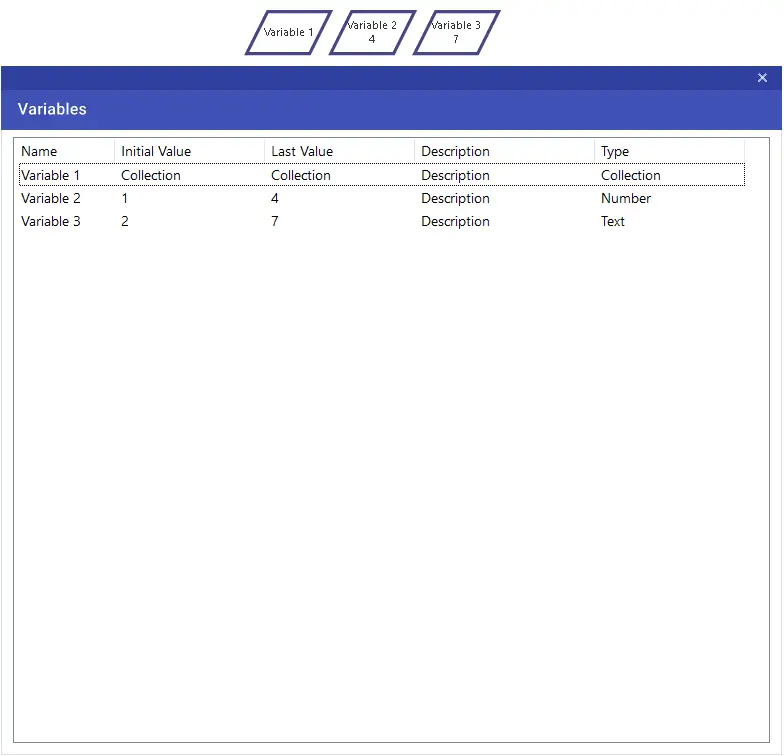
Variables Window
The Variables Window is used to monitor the variables in studio from a single window. Variable types, descriptions and names can be seen in this window.
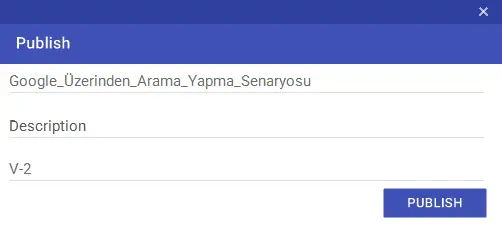
Description
This is the area where you can add descriptions when publishing your scenarios that you have completed or updated.
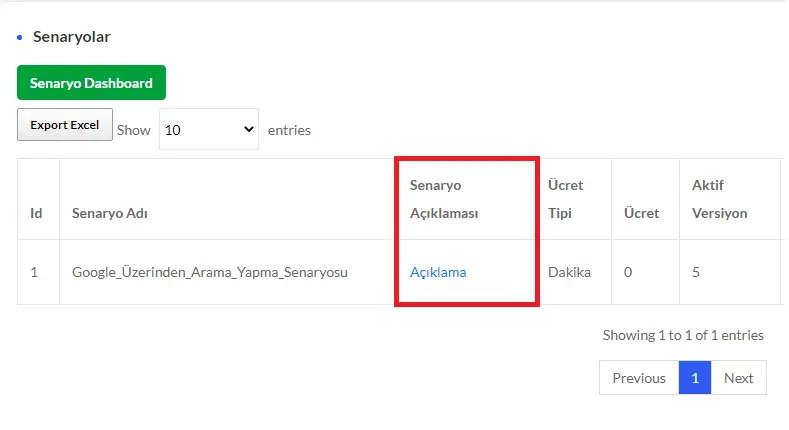
You can access the explanations via orchestrator as you can see in the image.
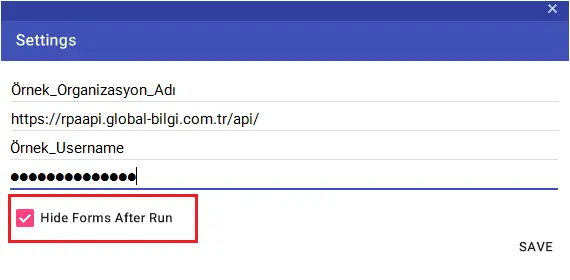
Hide After Run
This activity is used to determine whether the studio window should be minimized after the script is run. By default, this part is selected.
Dark Mode
Using the Dark Mode feature, you can replace the studio background colors with dark colors. To do this, simply select the “Dark Mode” sign in the settings window.
Record
The Record feature allows you to create your designs more quickly and practically. After activating the Record feature, the operation is done. The activity is then added to the studio design window.
Shortcuts:
Escape (ESC): Stops recording.
CTRL: The recording process is continued.
Its usage is as follows:
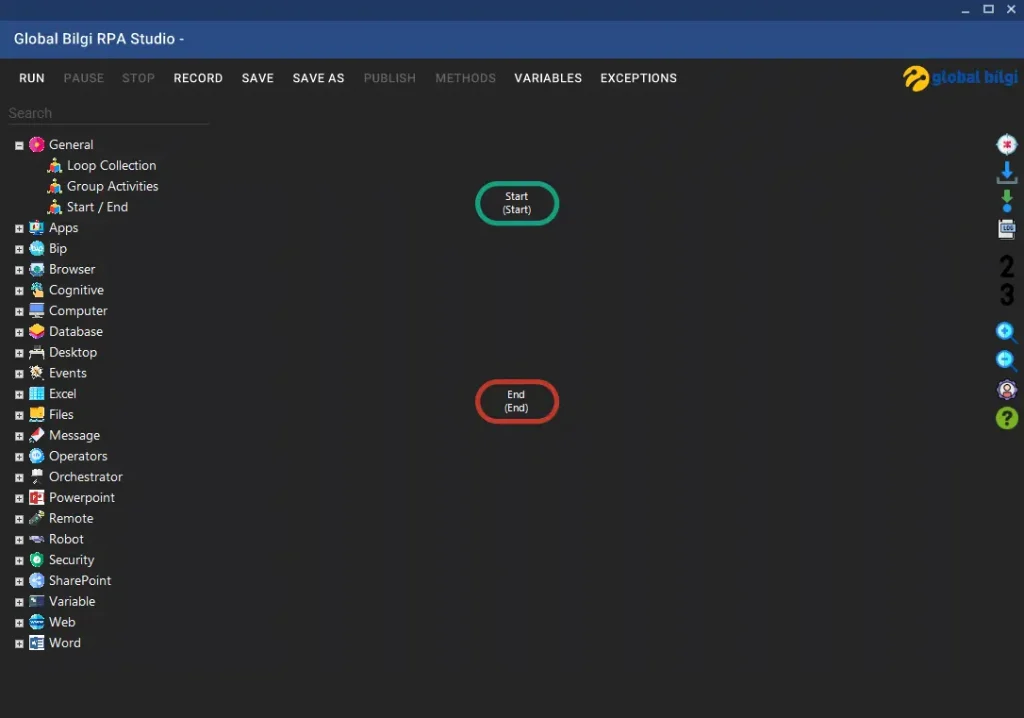
In order to activate the Record feature, an activity must be selected. In a project created for the first time, you can activate the Record feature by selecting the Start activity.
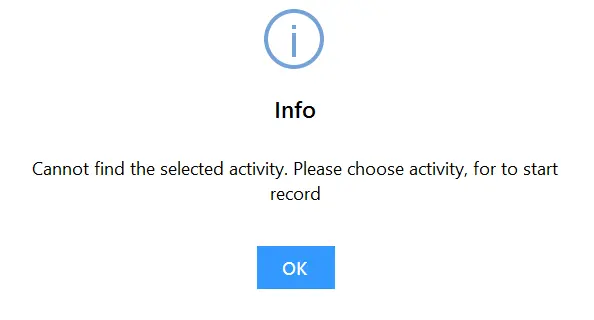
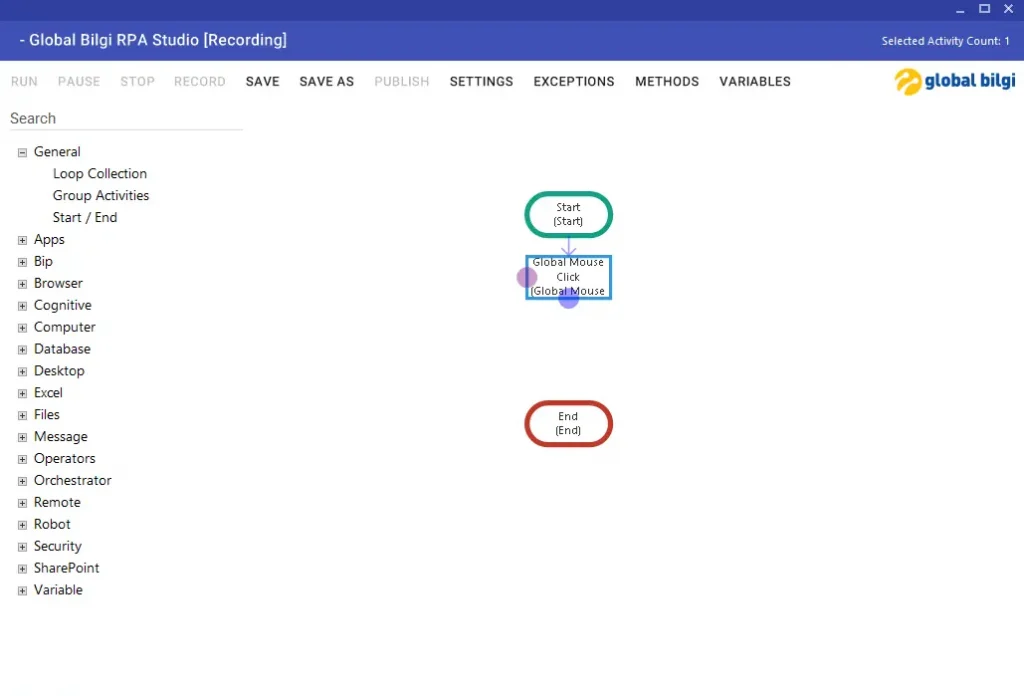
When you click on the Record button, if there is no selected activity, the alert window in the image will appear.
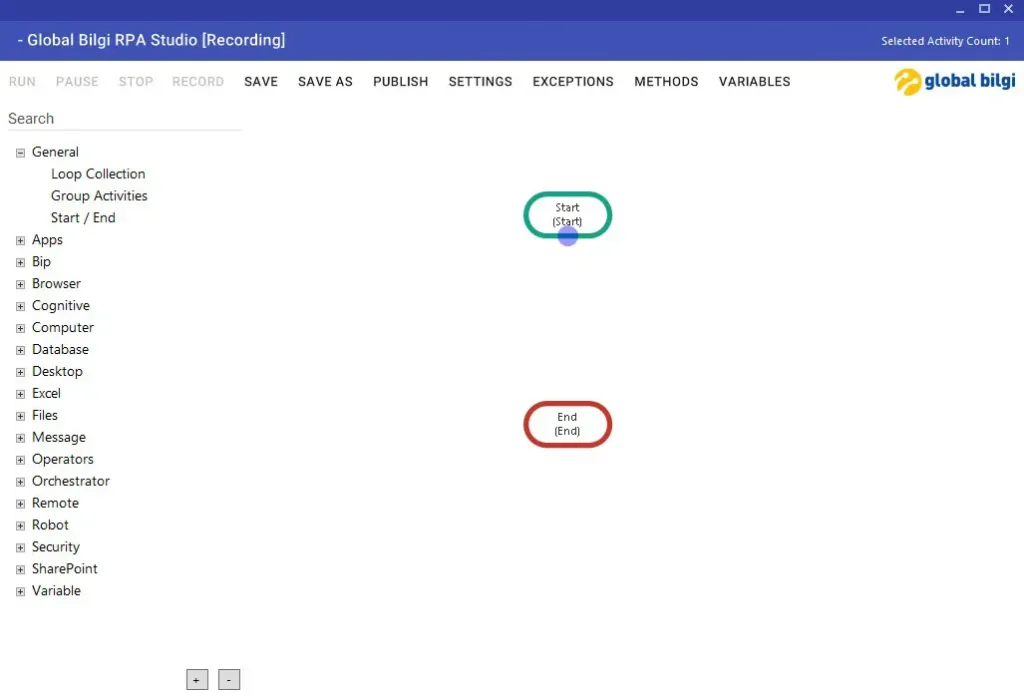
If the activity is selected, the system status is Recording and recording starts.
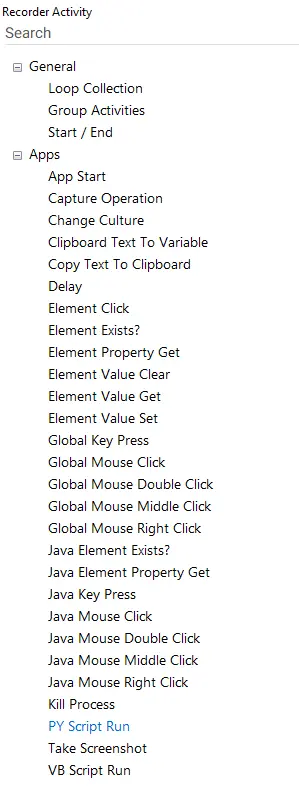
After the recording process has started, the activity selection screen will appear on the first click.
The selected activity in the Recorder Activity window is added to the scenario and the clicked element is automatically captured.
Shortcuts
You can use shortcut keys when designing in Studio.
Ctrl+C: You can copy any activity from the design screen.
Ctrl+V: You can paste the copied activity on the design screen.
Ctrl+X: You can cut any activity from the design screen and paste it with Ctrl+V.
Ctrl+Z: You can undo at design time.
Ctrl+F: You can search for activities by name on the design screen.
Ctrl+Q: You can stop the recording that was started with the Global Record activity.
Ctrl+Shift+Q: You can stop an activity, process that is run from within the Studio application.
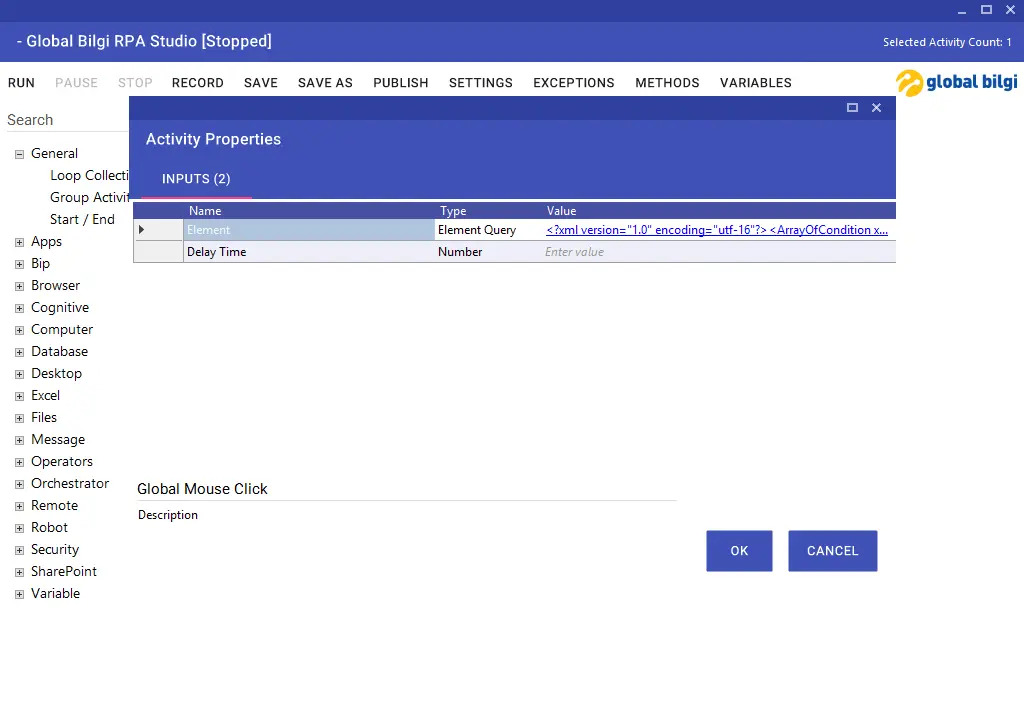
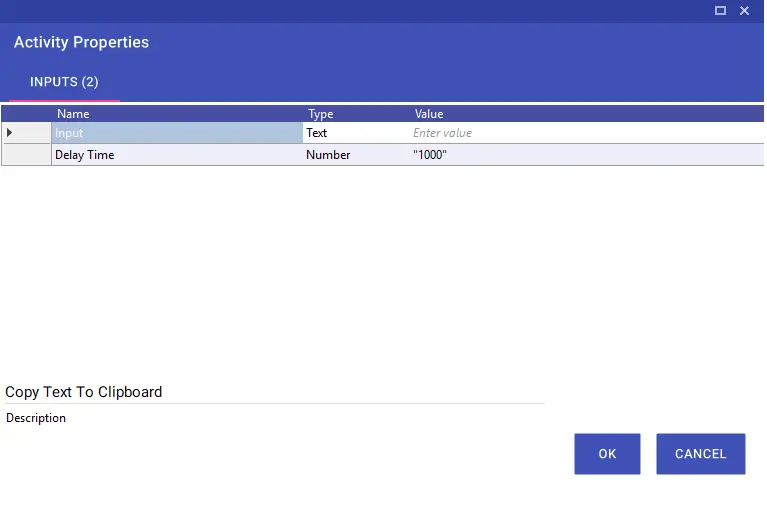
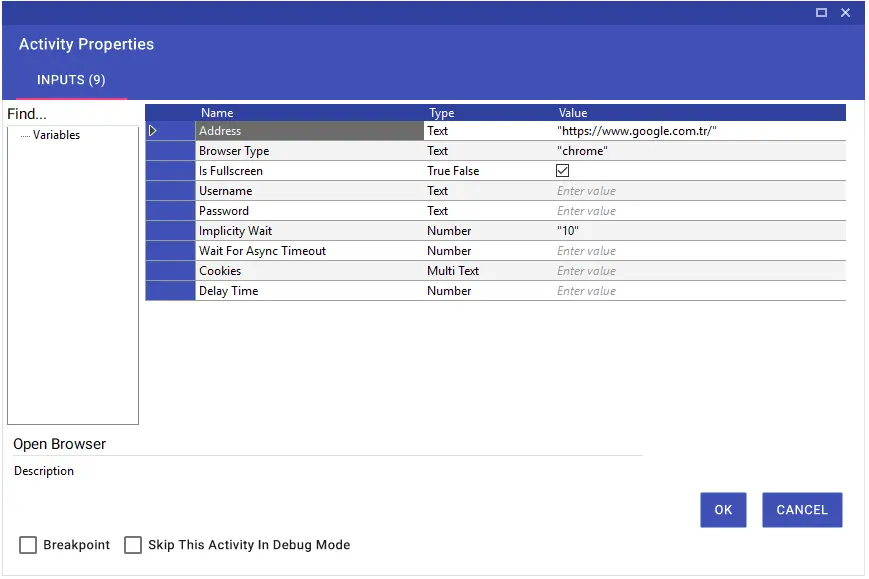
Delay Time
If you want to give waiting time to certain points in the scenario flow, you can use the Delay Time line in each activity. The waiting time must be entered in milliseconds.
Example: 1s = “1000”
Implicity Wait
You can specify how long the activities should wait during the operation using the Implicity Wait feature. For this, it is sufficient to fill the “Implicity Wait” line in seconds. If the Implicity Wait line is left blank, the system defaults to 60 seconds.
Error Handling
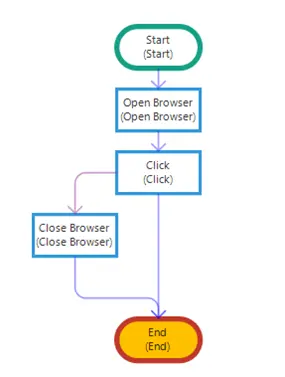
You can manage the exceptions captured during scenario design with the purple arrows on the left side of the activity box. When the related activity receives an error, the scenario flow continues from where the purple arrow connects. In this way, you can make your scenario run smoothly and stably without stopping by doing error management.
In the example below, after opening the desired website with the ‘Open Browser’ activity, if an error occurs in the ‘Click’ operation, the scenario will continue from the purple arrow, and the website will be closed with the ‘Closer Browser’ activity and the process will be terminated.
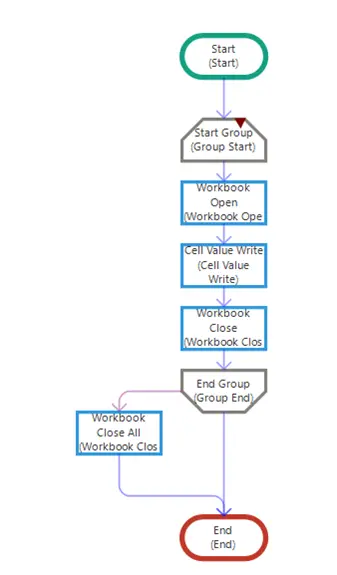
You can also manage the ‘Purple Arrow (Exception)’ for the ‘Group Activities’ feature in the Studio module. With this feature, as in the same activities, if an error is received in any activity within the group, your scenario will continue from the activity to which the connection is made, by exiting the group.
In the example below, in case of an error in any of the ‘Workbook Open’ or ‘Cell Value Write’ activities within the group, the group has been directly exited and directed to the ‘Workbook Close All’ activity. In this way, Excel is closed and the process is terminated.
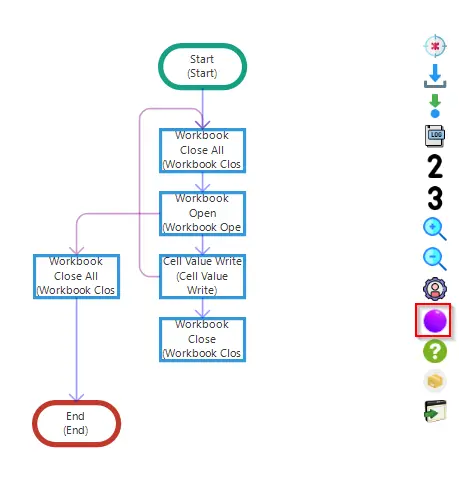
You can also press the purple button in the sidebar area on the right side of the Studio screen. When you press the purple button, the purple arrows in the design will not appear and the color of the button will be red. When you press the button that turns red again, the purple arrows in the design will come back.
Studio Debug Mode (Sidebar)
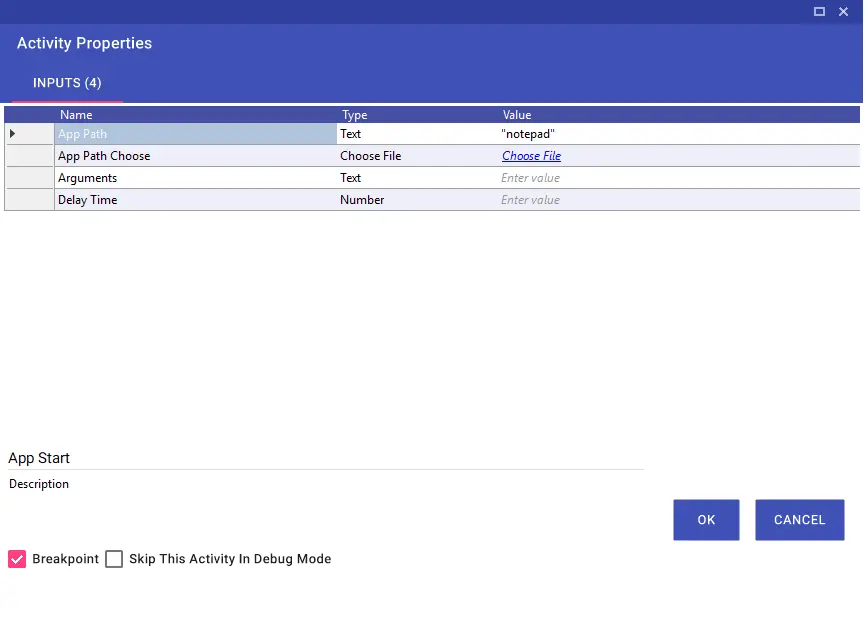
You can run your designed streams in debug mode using the Studio Debug feature. You can add Breakpoint to the activity you want and stop its progress, or you can skip the selected activity and go to other steps by using the Skip This Activity In Debug Mode feature.
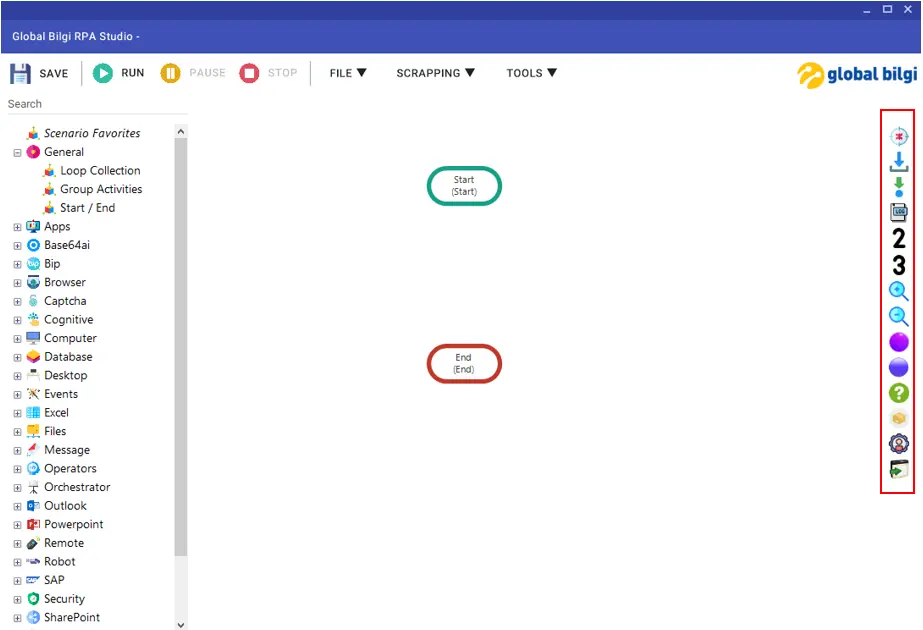
Descriptions of the features included in the Sidebar are as follows:
Icon 1 (Debug): Starts the Debug process.
Icon 2 (Step Over): Allows you to pause in step-by-step activities and progress.
Icon 3 (Step Forward): Plays the scenario until the next debug point.
Icon 4 (Debug Logs): Shows the changes in the runtimes and input outputs of the activities during debug in a list.
Icon 5 (-2X Debug): Each activity runs with a delay of 2 seconds, so you can watch the steps more easily.
Icon 6 (-3X Debug): Each activity runs with a delay of 3 seconds, so you can watch the steps more easily.
Icon 7 (Zoom In): Zooms in on the Activity window.
Icon 8 (Zoom Out): Zooms out the Activity window.
Icon 9 (Exception Lines and Ports): When you click the purple button, the purple arrows in the design will not appear and the color of the button will turn red. When you click on the button that turns red, the purple arrows in the design will come back.
Icon 10 (Line While Dragging and Dropping): You can click on the blue button to increase the working performance in scenarios with a high number of activities. By hiding the blue arrows between activities, studio performance will be increased.
Icon 11 (Studio Help): You can access RPA Academy, RPA FAQ and Help Center information via the Studio Help button.
Icon 12 (Manage Packages): It will be taken live soon with the Manage Packages feature.
Icon 13 (Settings): This is the settings button that was previously in the top menu.
Icon 14 (PiP Mode): You can activate the picture-in-picture feature using Picture in Picture mode. A process started in picture-in-picture mode starts running in an isolated windows session, and you can use your machine at the same time as the process continues.
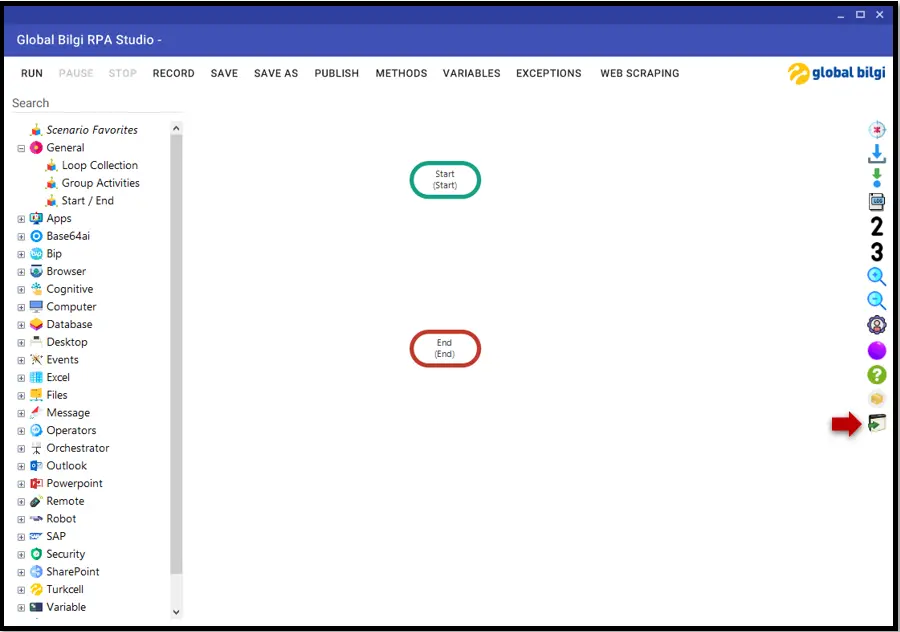
Picture in Picture
The picture-in-picture feature allows you to run your participatory processes (RDA) in collaboration with the robot. A process started in picture-in-picture mode starts running in an isolated windows session, and you can use your machine while the process is running.
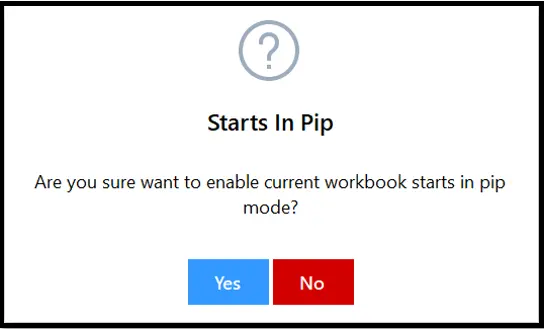
You can perform an operation in picture-in-picture mode by selecting the PiP session from the “Works in picture-in-picture mode” icon in the studio, and after making this selection, you can switch to PiP mode by saying “Yes” to the warning that appears. After switching to PiP mode, you can bring your scenario live as it is and allow your robot to perform operations in a separate windows session.
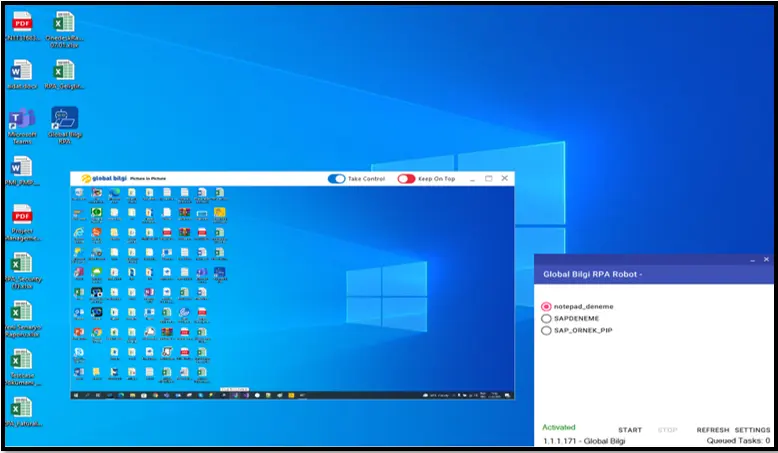
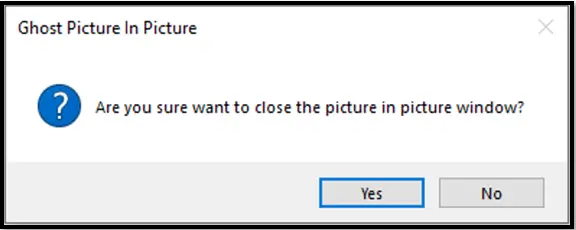
When a process is started in picture-in-picture mode, a preview window appears on your desktop, providing real-time feedback from the execution of the process. The viewing window can be resized, moved, placed full screen, or placed on top of other windows. You can exit the picture-in-picture mode at any time by closing the window. A confirmation dialog will appear and you can choose to close the PiP window, stop the running process.
CONTROLS
The following controls are available for the PiP window.
Take Control – Enable this to take control of the PiP session, if this is disabled, your mouse and keyboard will only work in the main session.
Keep on Top – Enable this to keep the PiP window on top of other applications even when out of focus.
Minimize – Shrinks the PiP window to the main session taskbar without interrupting the process.
Enlarge – Enlarges the PiP window.
Close – Closes the PiP window, stops all running processes, and logs off the PiP session.
Requirements for PiP Mode Use:
Administrator authorizations are required to enable Picture in Picture on the machine. This is an authorization that should only be obtained when the Picture-in-Picture is used for the first time, then the actual process can be started in Picture-in-Picture without elevated privileges. In the authorization to be obtain:
Pip – check childSession: Must be true. For this, a request must be opened to the system administrator.