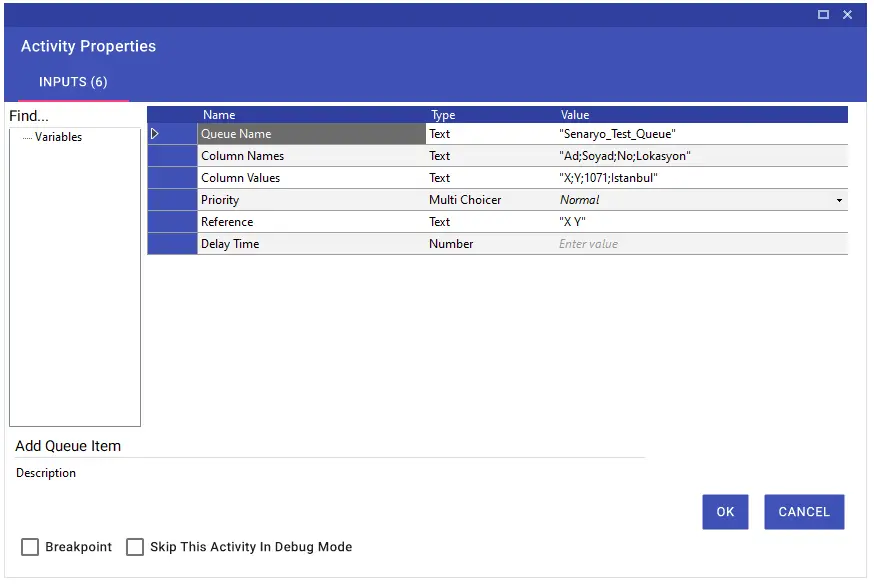
Using the Add Queue Item activity, you can add a new item to the queue you created on the “Queues” page from the Orchestrator administration panel. The input values are as follows:
Queue Name: The queue name that you have created on the Orchestrator > Queues page is entered.
Column Names: The column names you want to add to the queue details are written. If more than one column name is to be typed, they should be typed and separated using the semicolon (;). If an item has already been added to the queue, the same column names in the details of those elements must be entered.
Column Values: The data (values) you want to add to the queue details are written. The typed values must be in the same order as the column names in the Column Names row. If more than one data (value) is to be typed, they should be typed and separated using the semicolon (;).
Priority: The priority of adding to the queue is determined. When retrieving data from the queue, items with a High Priority take precedence. If there is no item that you want to be processed earlier than the others, the Priority row should be selected as ‘Normal’ or ‘Low’ according to the need.
High: High Priority
Normal: Normal Priority
Low: Low Priority
Reference: The reference of the item is determined. This reference appears in the Reference column of the table of queue items that opens when the View Queue Items button created in Orchestrator is clicked. It lets you know about the item without clicking on the item details.
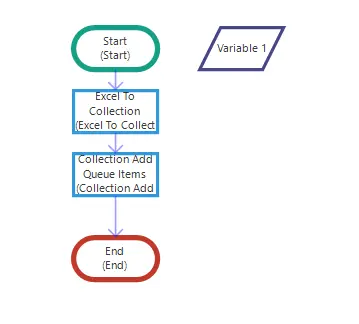
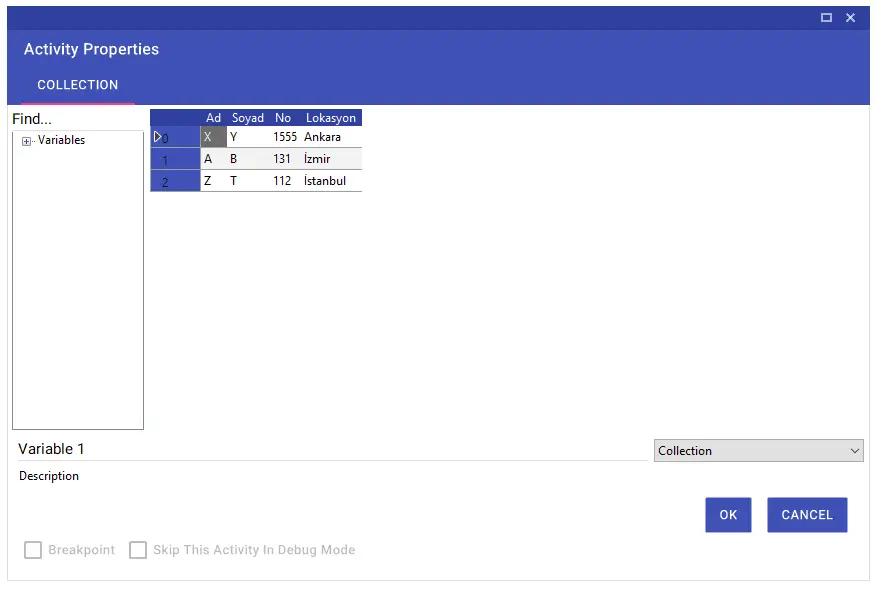
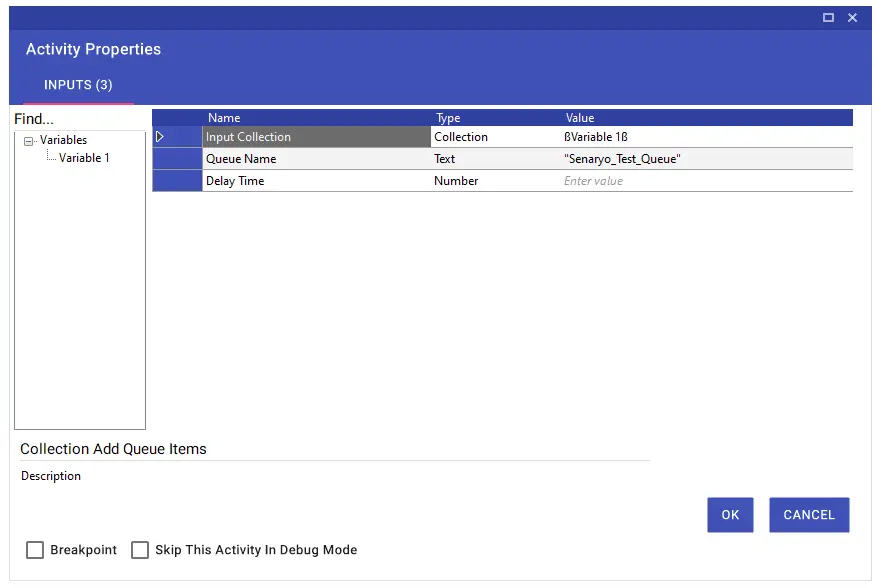
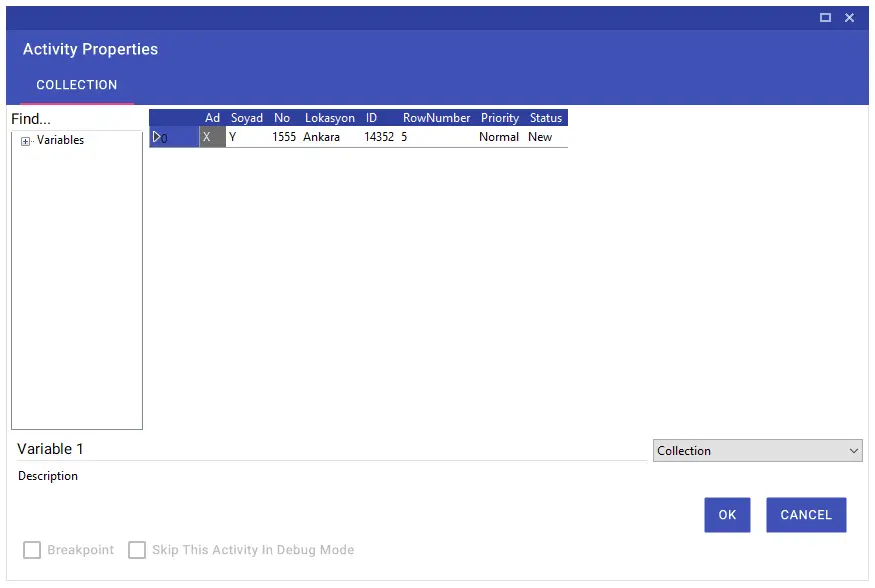
Collection Add Queue Items
The Collection Add Queue Items activity allows you to add items to the queue you have created on the “Queues” page from the Orchestrator administration panel, with the Collection variable. The collection variable you want to add to the Input Collection line of the activity and the Queue name to the Queue Name line must be entered.
Note: If an item has already been added to the queue, column names of the items in the relevant queue must match the column names of the collection to be added.
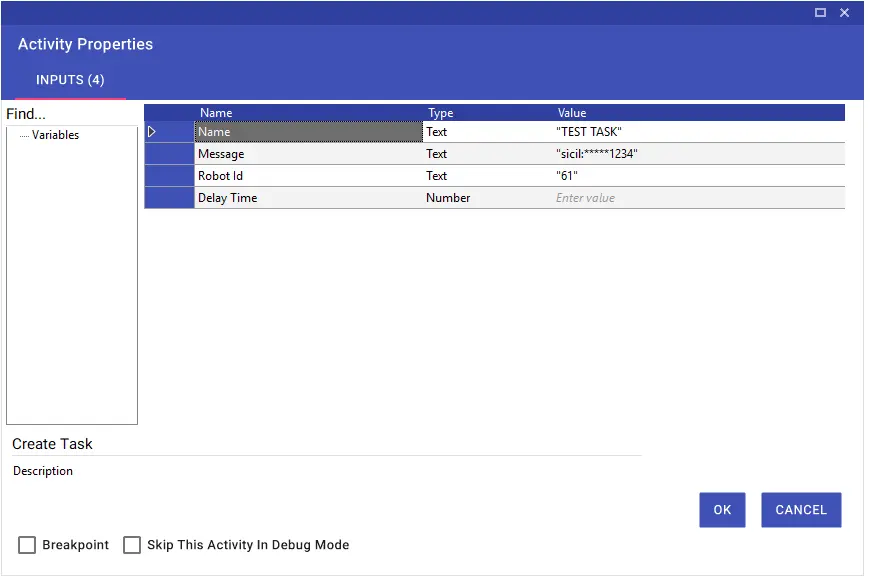
Create Task
The Create Task activity is used to create a task for robots via API.
In the Name line, the name of the task should be written.
Example: TEST TASK
Parameters that should be used while processing the task should be written in the message line.
Example: register:*****1234; birthday:01.01.1981 The ID of the robot that will solve the task should be written on the Robot ID line.
Example: 61
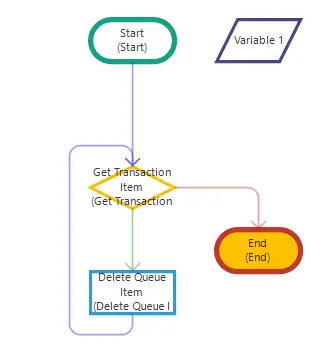
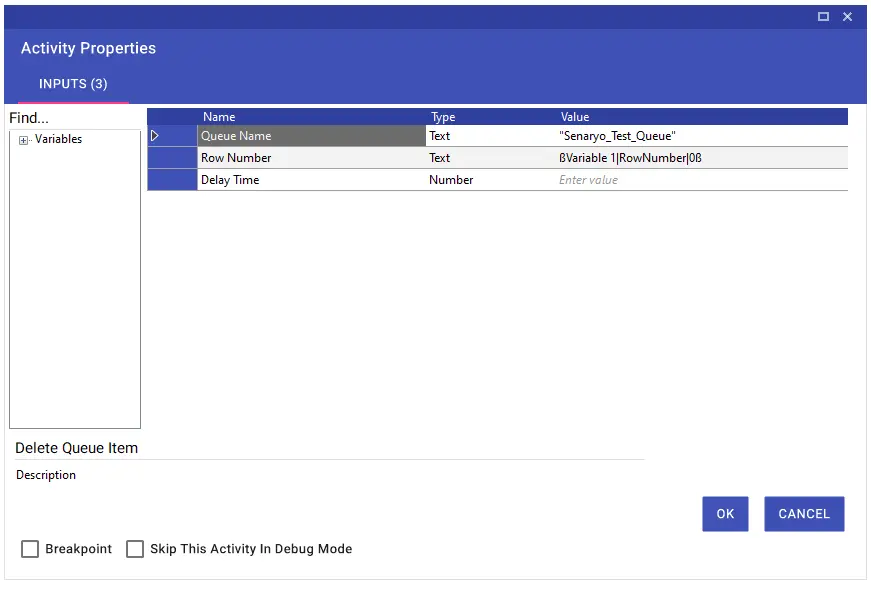
Delete Queue Item
Using the Delete Queue Item activity, you can update the item in the Queue to its ‘Deleted’ status. Queue name must be entered in the Queue Name line of the activity, and the queue number of the item required to be deleted must be entered in the Row Number line. You can write this value manually if you want, or you can write it as a variable using the collection you get after the Get Transaction Item operation.
In the example below, an item that was previously added to the queue is retrieved with the ‘Get Transaction Item’ activity and updated to the ‘Deleted’ status of this item.
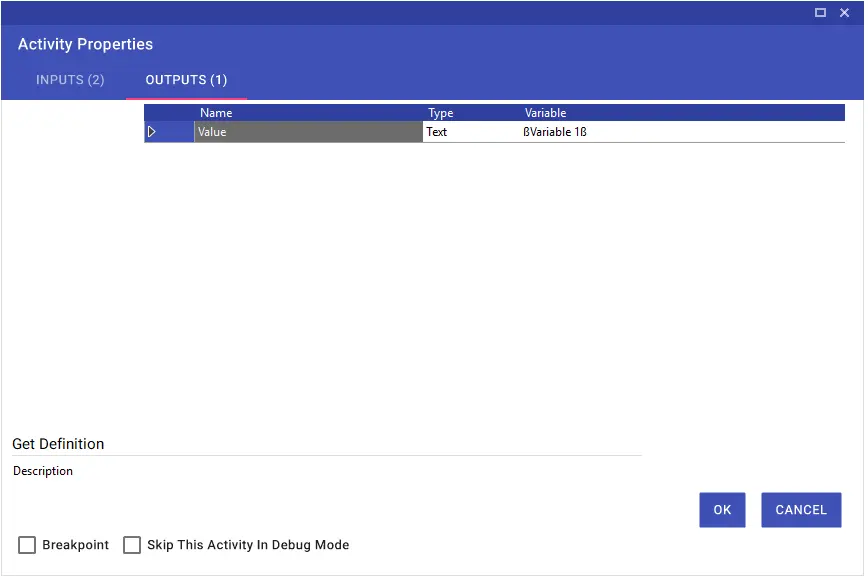
Get Definition
Using the Get Definition activity, you can run a definition created in orchestrator in studio and transfer the value in it to variables.
For example, in an environment where you log in with a username and password, you can save your username and password by clicking the Definitions > New Definition button on the Orchestrator administration panel, so that this information is not used in the scenario and can only be seen and updated by the authorized person or persons. You can use this definition, which you saved with the activity, as encrypted.
Note: The definition name to be written on the Name line must match the definition name you created in the orchestrator.
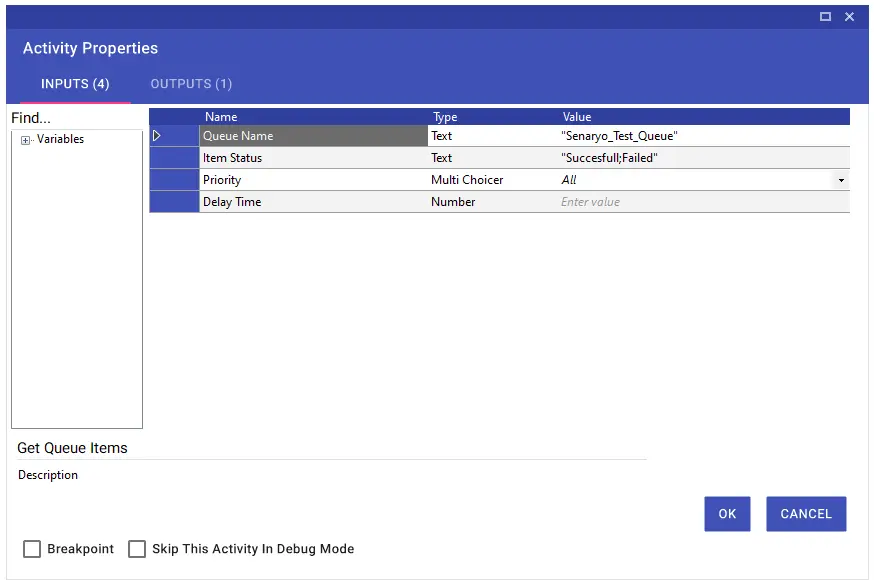
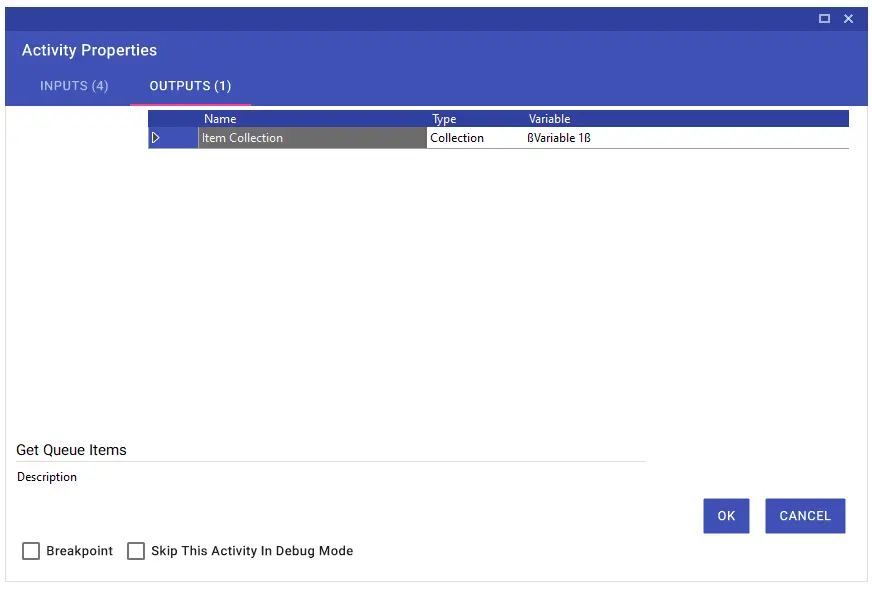
Get Queue Items
The Get Queue Items activity allows you to print out all the data in the queue you have created on the “Queues” page from the Orchestrator, that is, the management panel, in collection type according to the filters entered. Queue name should be written in the Queue Name line, the status information you want to be appeared in the Item Status line, and the desired priority should be selected from the Priority line.
Note: If more than one status (status) information is to be written, it should be written separately using a semicolon (;).
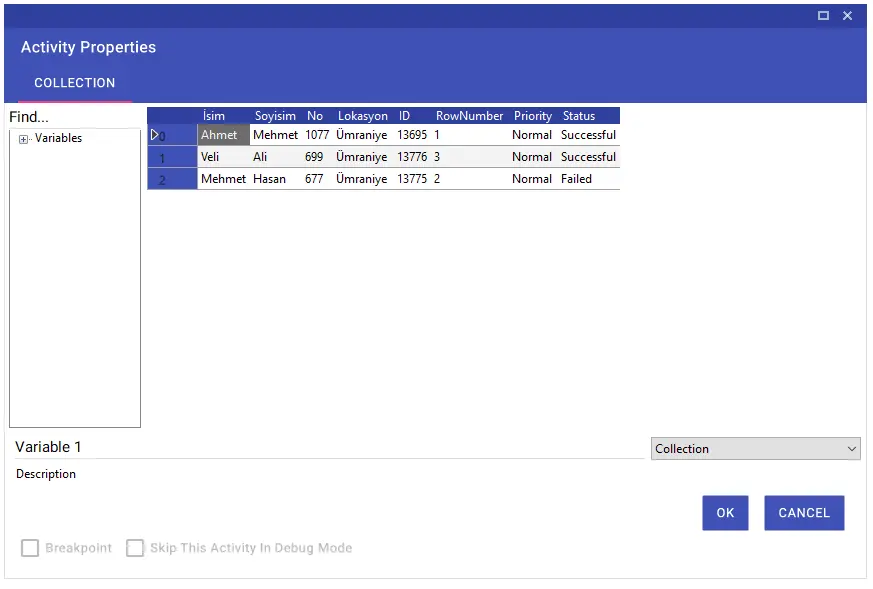
In the example below, all items with ‘Successful’ and ‘Failed’ status (state) in the relevant queue in Orchestrator are output as collection type.
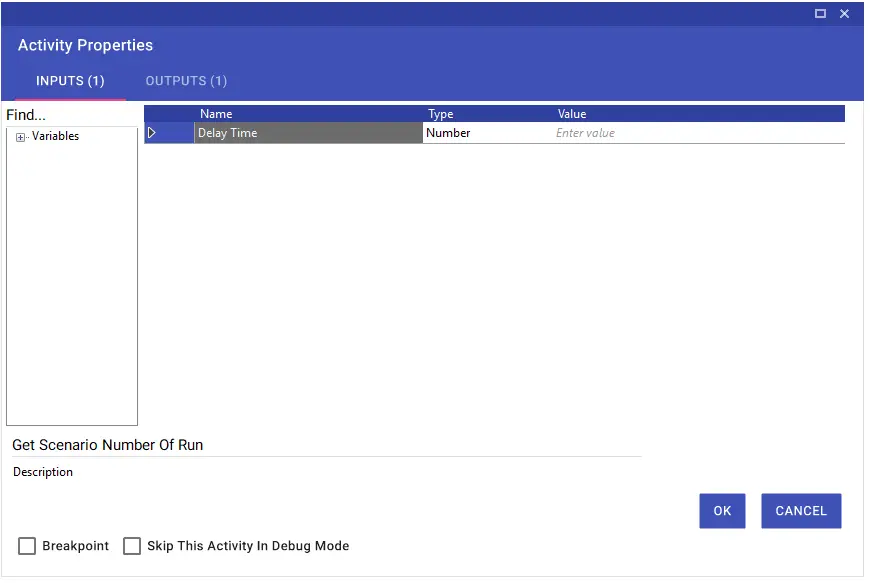
Get Scenario Number Of Run
You can transfer a value set to the database using the Scenario Number Of Run activity to a variable via the output by using the Get Scenario Number Of Run activity and use it in the scenario.
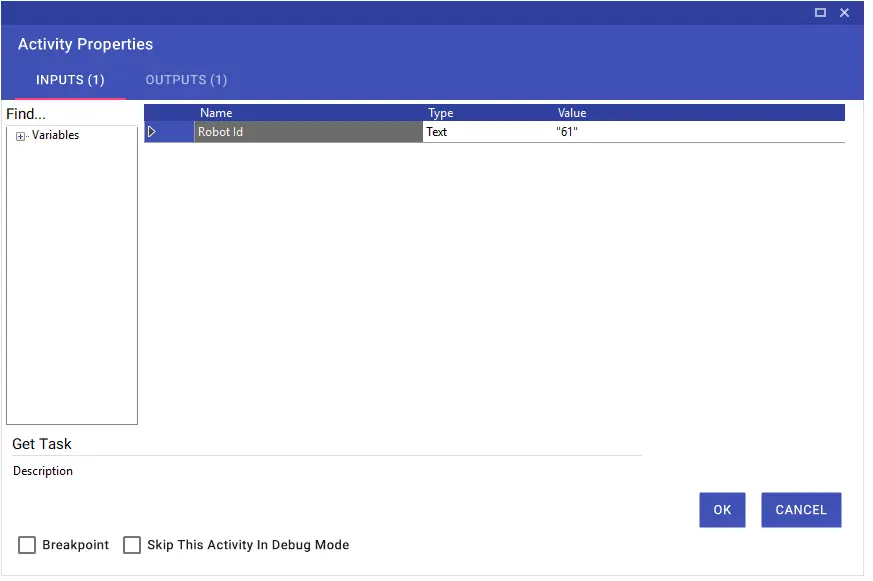
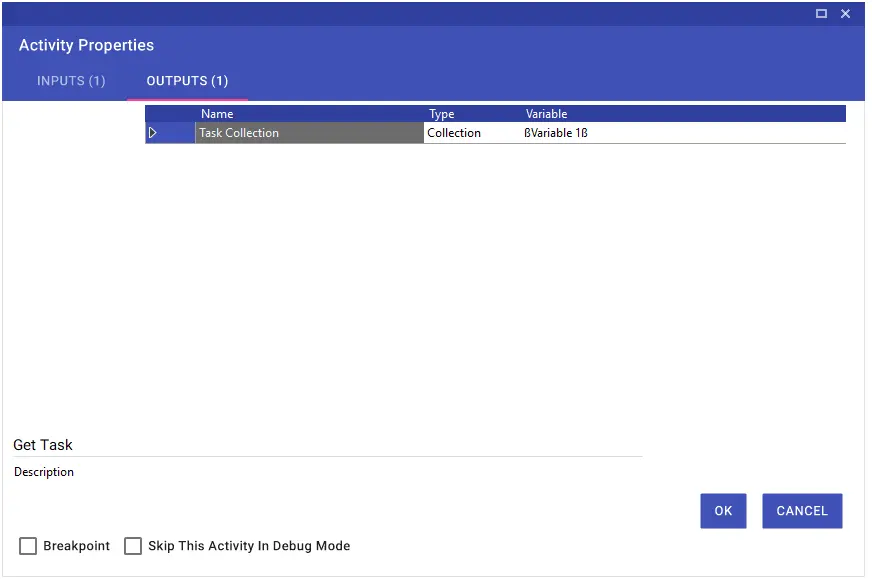
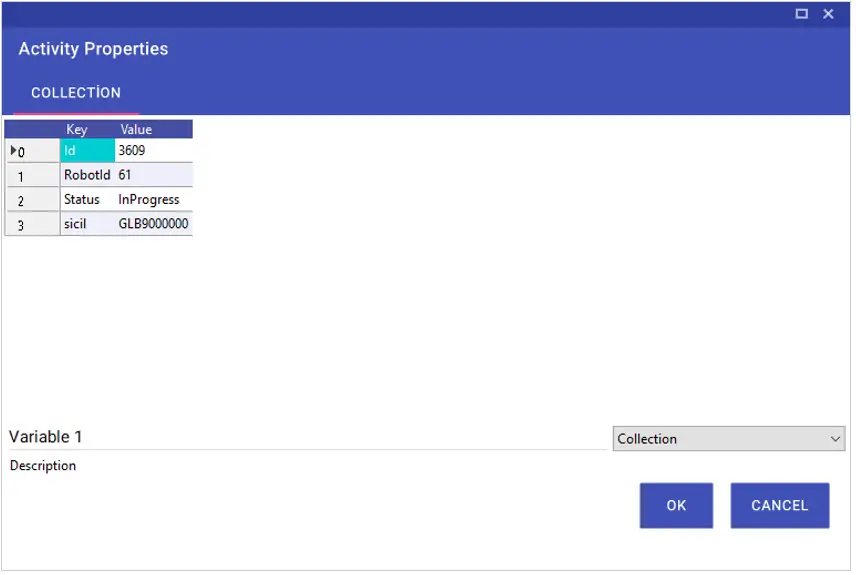
Get Task?
Using the Get Task activity, you can take the task assigned to the robot via the API and transfer it to a variable. The variable you define must be in collection format.
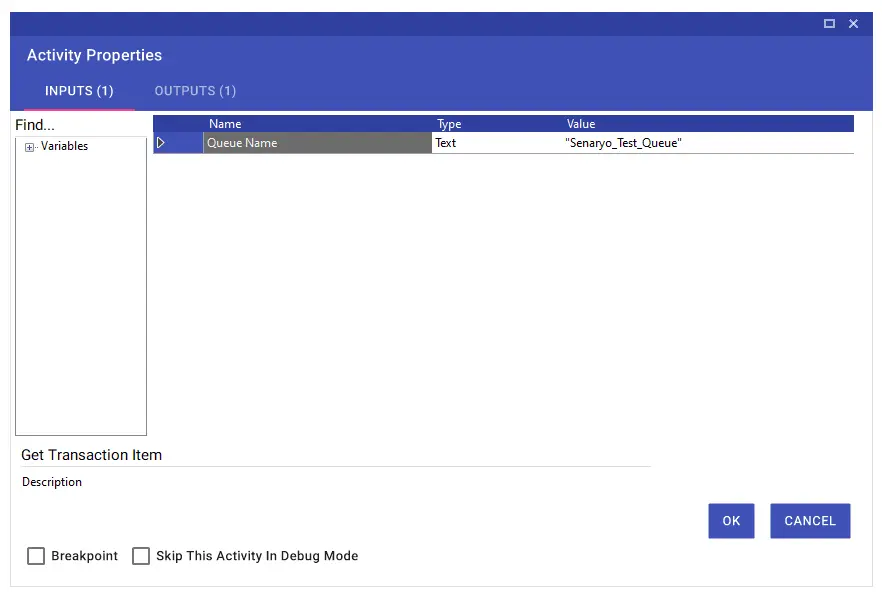
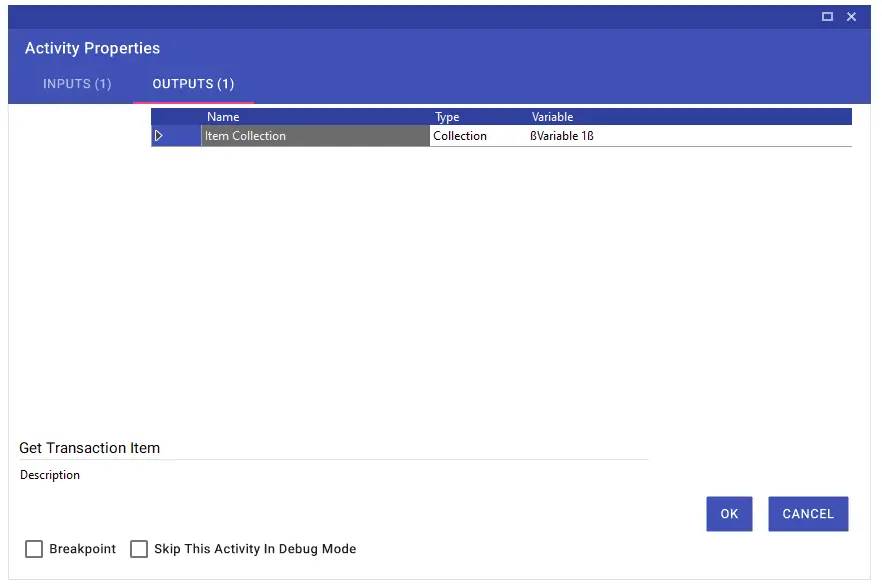
Get Transaction Item
The Get Transaction Item activity is used to retrieve a single item in the queue you have created on the “Queues” page from the Orchestrator, that is, the administration panel. To be processed in the scenario, it brings the next item with a status of New as collection type. As the item is processed, its status is automatically updated to ‘In Progress’ in Orchestrator.
The activity’s ‘False’ parameter runs when all items in the queue to be processed are completed, that is, there are no items in the New status.
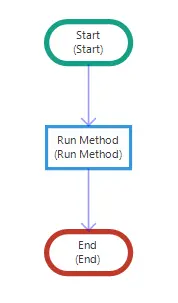
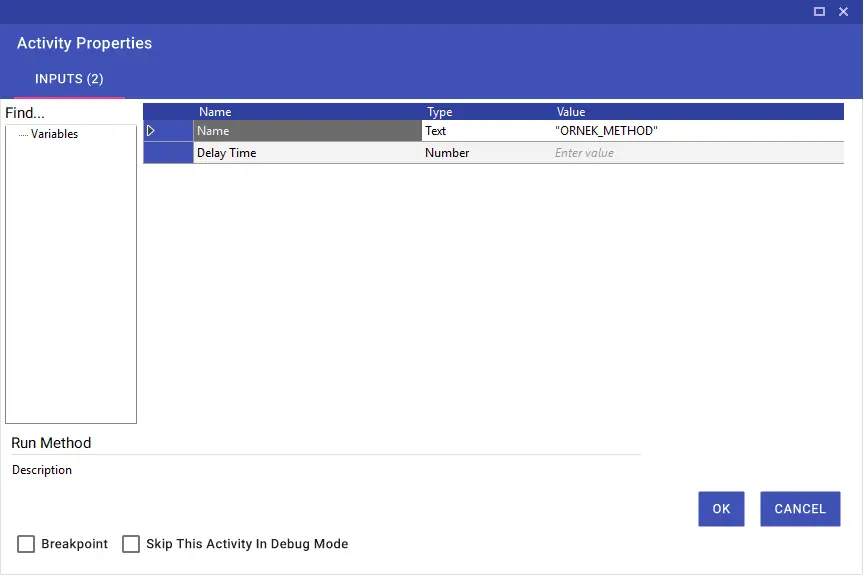
Run Method
Using the Run Method activity, you can run your created and published templates within the scenario. For example, let’s consider that you save a stream that you have created to login as a method. You can call this method, which you have recorded using the Run Method activity, from the orchestrator, and you can perform operations involving more than one step with a single activity.
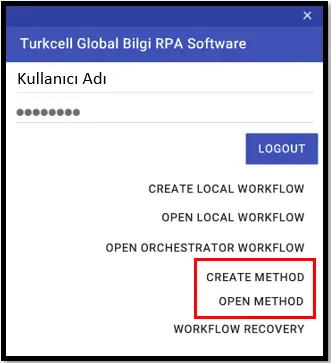
Using Create Method, you can create a ready-made template, or method, for your scenarios, and with Open Method, you can open and update the template you have created. After both processes, the designed or updated method must be published in order to be published.
When you update a method you have created, all scenarios you run using this method will be updated. In this way, you can transform the basic operations that will affect more than one scenario into a method and manage them from a single point.
Note: In order to create a method and update a created method, it is necessary to “login” to the studio application.
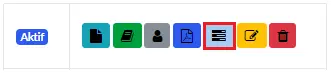
You can see all the methods you have published by clicking the METHODS button. In order to be able to use the Run Method activity, it will be sufficient for you to write the name of the method you have published in the “Name” line and run it correctly.
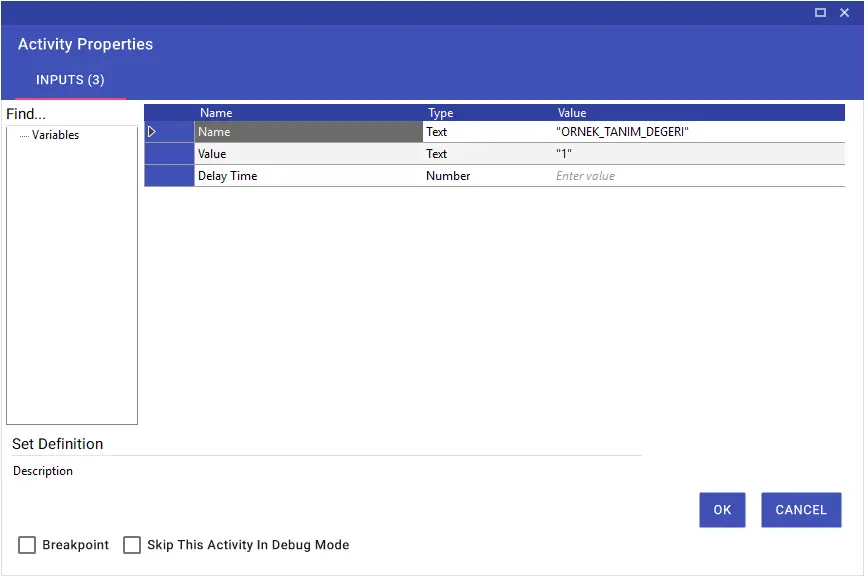
Set Defination
Using the Set Definition activity, you can enter a value into a definition that you are registered and authorized in the orchestrator environment. Then, you can take this entered value into a variable with the Get Definition activity by the authorized person or people and use it in the scenario.
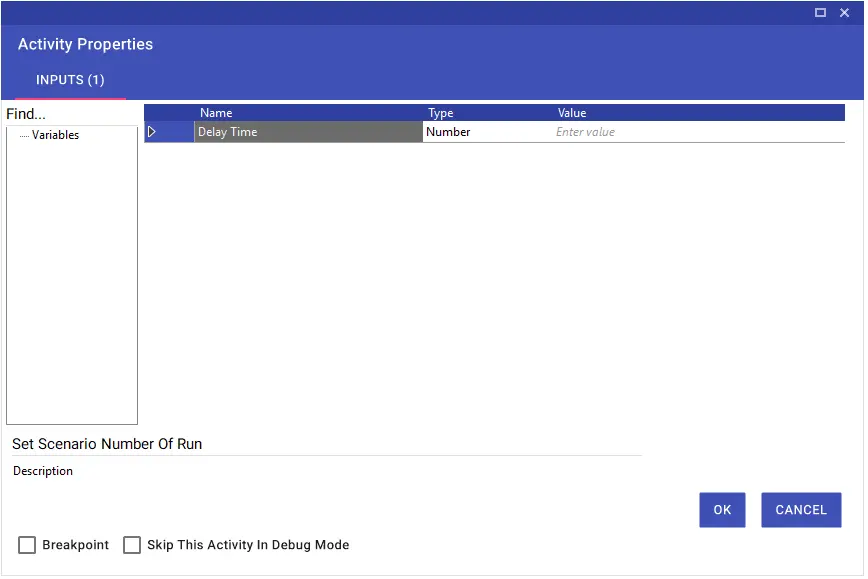
Set Scenario Number Of Run
The Set Scenario Number of Run activity allows you to find the number of successful tasks and the number of turns in the robot application. It is important for Financial Benefit calculations. For this reason, it should be added to the point where the script returns to the beginning or before connecting to the end. On the Orchestrator page, under the scenarios title, the output is given as the number of task solving.
Set Transaction Status
Using the Set Transaction Status activity, you can update the status (status) of an item in the queue that you have created on the “Queues” page from the Orchestrator, that is, the administration panel. Queue name should be written in the Queue Name line, the queue number of the item you want to update should be written in the Queue Name Row Number line, and the status (status) information you want to update should be selected from the Status line.
You can write this value manually if you want, or you can write it as a variable using the collection you get after the Get Transaction Item transaction.
You need to manage the status(s) of the items within your scenarios. The item that is retrieved using the Get Transaction Item activity in the scenario design remains in the ‘In Progress’ status in the Orchestrator if its status is not determined immediately after processing. In the flow, if the item processed by the Set Transaction Status activity was successful, it should be updated to ‘Successful’, if it received an error, it should be updated to ‘Failed’.
You can fill in the Error Message field to see the error of the item that has received an error and that you will update to Failed status in the item details in Orchestrator. You can fill in this field manually by typing whatever you want or by using the output variable from the Get Last Exception activity.
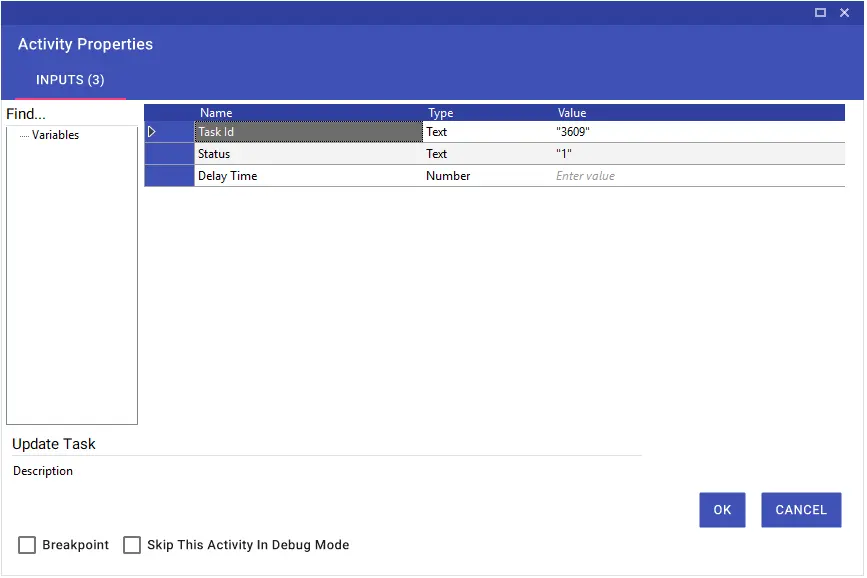
Update Task
The Update Task activity is used to update the status of the task being processed.
When the robot successfully completes the task it has received or receives an error, its status must be updated. The numeric values that should be typed in the Status row of the Update Task activity are as follows:
Status: “1” (New)
A task that has been processed and released back into the pool or has just been opened.
Status: “2” (In Progress)
A task that has been processed by a robot automatically switches to status of “2” when called with the get task activity.
Status: “3” (Done)
An expression stating that the task has been completed successfully.
Status: “4” (Rejected)
If the transaction is abandoned, it is brought to this status.
Status: “5” (Fail)
If an error is received during the transaction, it is brought to this status.